
 en
en  Español
 عربى
عربى
How do I connect a Quick Connector for Car Air Conitioning to a car?
Connecting a quick connector for car air conditioning is straightforward: align the connector with the AC line fitting, push firmly until you hear or feel a click, then verify the connection is secure by gently pulling back on the line. This process typically takes under 60 seconds and requires no special tools. Whether you are refilling refrigerant, performing pressure testing, or swapping out AC components, quick connectors make the job clean, fast, and leak-free.
This guide walks you through everything you need to know — from understanding what these connectors are and which type you need, to a step-by-step installation process, safety precautions, and troubleshooting common issues.
Content
- 1 What Is a Quick Connector for Car Air Conditioning?
- 2 Types of Quick Connectors and Which One You Need
- 3 Tools and Materials You Will Need
- 4 Step-by-Step: How to Connect a Quick Connector to Your Car's AC System
- 4.1 Step 1 — Locate the AC Service Ports
- 4.2 Step 2 — Inspect and Clean the Service Port
- 4.3 Step 3 — Check the Quick Connector's O-Ring
- 4.4 Step 4 — Align and Push the Connector Onto the Service Port
- 4.5 Step 5 — Verify the Connection Is Secure
- 4.6 Step 6 — Open the Service Valve and Begin Your AC Procedure
- 4.7 Step 7 — Disconnect Safely After Service
- 5 Safety Precautions You Must Follow
- 6 Common Problems and How to Fix Them
- 7 Wide Compatibility: What Vehicles and Applications Are Supported
- 8 How to Maintain and Store Quick Connectors for Long Service Life
- 9 Quick Connector vs. Traditional Threaded Fitting: A Direct Comparison
- 10 When to Seek Professional Help
What Is a Quick Connector for Car Air Conditioning?
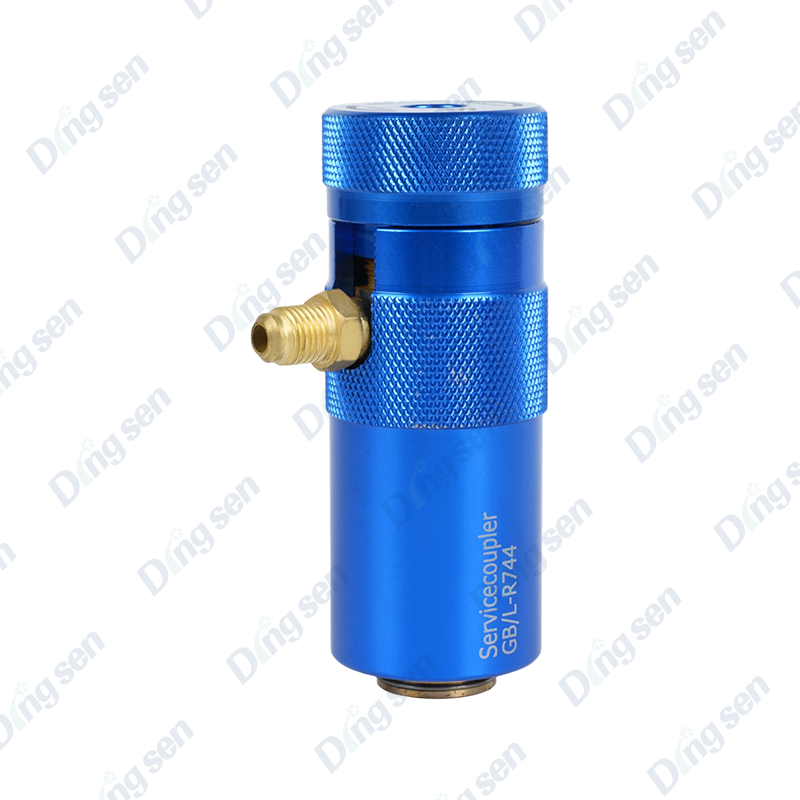
A quick connector for car air conditioning is a specialized coupling component designed to create fast, reliable, and leak-free connections between an automotive AC system and external equipment such as refrigerant charging stations, manifold gauge sets, or pressure testing tools.
Unlike threaded fittings that require wrenches and multiple turns to secure, quick connectors use a push-to-connect mechanism with internal sealing rings. A single push-and-click action completes the seal, eliminating the risk of over-tightening or cross-threading that can damage delicate AC line fittings.
These connectors are manufactured using corrosion-resistant materials — typically brass bodies with HNBR (Hydrogenated Nitrile Butadiene Rubber) O-rings — and undergo precision machining and airtightness testing before leaving the factory. The result is a component built to withstand the pressures and temperature cycles of an active automotive AC system, which can see pressures ranging from 25 PSI on the low side to over 400 PSI on the high side under operating conditions.
Types of Quick Connectors and Which One You Need
Before connecting anything, you must identify the correct connector type for your vehicle and application. Using the wrong size or style can result in a poor seal, refrigerant leakage, or damage to the service port.
| Connector Type | Service Port | Common Refrigerant | Typical Vehicle Year |
|---|---|---|---|
| Low-Side Quick Connect (1/4") | Low-pressure service port | R-134a / R-1234yf | 1995 – Present |
| High-Side Quick Connect (1/2") | High-pressure service port | R-134a / R-1234yf | 1995 – Present |
| R-12 Service Connector | Schrader valve port | R-12 (CFC-12) | Pre-1995 vehicles |
| R-1234yf Dedicated Connector | Proprietary HFO port | R-1234yf | 2014 – Present (EU mandate) |
The service port size differs intentionally to prevent cross-contamination between refrigerant types. The low-side port is physically smaller than the high-side port, and R-1234yf connectors feature a unique geometry incompatible with R-134a equipment. Always check your vehicle's under-hood sticker or owner's manual to confirm the refrigerant type before purchasing connectors or service equipment.
Tools and Materials You Will Need
Gathering the right supplies before you begin will save time and reduce the risk of mistakes. Most quick connector jobs for AC service require minimal equipment.
- The correct quick connector (low-side, high-side, or refrigerant-specific)
- Manifold gauge set or refrigerant charging kit compatible with your connector
- Safety gloves (nitrile or rubber — refrigerants cause frostbite on skin contact)
- Safety glasses or goggles
- Clean lint-free cloth or rag
- AC leak detection dye or UV light (optional, for leak verification)
- Vehicle service manual or refrigerant type label (located under the hood)
No wrenches or thread-sealing compounds are required for quick connectors. The entire value of the quick-connect design is tool-free engagement — which is why proper preparation and alignment matter more than mechanical force.
Step-by-Step: How to Connect a Quick Connector to Your Car's AC System
Follow these steps carefully. Each phase builds on the previous one to ensure a secure, leak-free connection.
Step 1 — Locate the AC Service Ports
Open the hood and locate the AC service ports on the refrigerant lines. These are typically found near the firewall, compressor, or accumulator/drier. The low-pressure port has a smaller diameter cap (usually marked "L" or with a blue color coding), while the high-pressure port is larger (marked "H" or red). On most passenger vehicles built after 1995, both ports use Schrader valves under dust caps — twist off the caps counterclockwise to expose the port.
Step 2 — Inspect and Clean the Service Port
Before connecting, visually inspect the service port for dirt, debris, corrosion, or damaged threads. Use a clean, lint-free cloth to wipe around the port opening. Even a small particle of dirt can compromise the O-ring seal inside the quick connector. If the port shows significant corrosion or a bent Schrader valve pin, address those issues before proceeding — a damaged port will cause leaks regardless of connector quality.
Step 3 — Check the Quick Connector's O-Ring
Examine the O-ring inside the quick connector before use. It should be smooth, pliable, and free of nicks or flat spots. A dry or cracked O-ring is a common cause of refrigerant leaks. If the connector has been sitting in storage, applying a very small amount of clean refrigeration oil to the O-ring (petroleum-free, compatible with your refrigerant type) helps it seat properly and extend its service life.
Step 4 — Align and Push the Connector Onto the Service Port
Hold the quick connector perpendicular to the service port — misalignment even by a few degrees can prevent the locking mechanism from fully engaging. Slide the connector straight onto the port fitting and push firmly and steadily until you feel or hear a definitive click. This click indicates the internal locking tabs have snapped over the port collar. Do not rock or wiggle the connector as you push — use a straight, linear motion.
Step 5 — Verify the Connection Is Secure
After the click, gently pull back on the hose or service line — not the connector body — to confirm the lock is engaged. The connection should resist separation with moderate pulling force. If it pulls free easily, the locking tabs did not fully engage. Remove the connector, re-inspect the port and connector for obstructions, and repeat Step 4. Never proceed to refrigerant service with an unsecured connection.
Step 6 — Open the Service Valve and Begin Your AC Procedure
Once the connector is confirmed secure, open the hand valve on your manifold gauge set or charging kit — slowly. This allows refrigerant or pressure to flow into your service equipment. Monitor the gauge readings as you proceed with refrigerant charging, pressure testing, or recovery. Typical low-side pressures during charging run between 25–45 PSI with the engine running and AC at maximum cold — always consult your vehicle's service specifications for exact target values.
Step 7 — Disconnect Safely After Service
When your AC service is complete, close the valve on your service equipment first. Then, to remove the quick connector, locate the release collar or sleeve on the connector body — this is typically a sliding ring or button mechanism. Press or slide the release while pulling the connector straight back off the port. Never yank or twist the connector off without engaging the release, as this can damage the internal locking tabs and the Schrader valve on the service port. Replace the dust caps on both service ports immediately after disconnecting.
Safety Precautions You Must Follow
Working with automotive refrigerants carries real risks. Observing these safety rules protects both you and the vehicle's AC system.
- Always wear safety glasses. Refrigerant released under pressure can cause permanent eye injury within seconds of contact.
- Wear insulated gloves. Liquid refrigerant reaching the skin causes cryogenic burns (frostbite) similar to direct contact with liquid nitrogen.
- Work in a ventilated area. Refrigerant vapors displace oxygen and can cause dizziness or unconsciousness in enclosed spaces. Never perform AC service in a sealed garage without ventilation.
- Never connect to the high-side port with the engine running. High-side pressures can exceed 400 PSI and cause catastrophic hose failure or connector blow-off.
- Do not vent refrigerant into the atmosphere. R-134a and R-1234yf are regulated substances — intentional venting is illegal in most jurisdictions and environmentally harmful.
- Confirm refrigerant type before connecting. Mixing R-134a and R-1234yf contaminates the system and can damage compressors, requiring expensive professional recovery and recharging.
Common Problems and How to Fix Them
Even with quality connectors, problems can arise. Here are the most frequently encountered issues and their solutions.
The Connector Will Not Click Into Place
This is usually caused by misalignment, a dirty service port, or the wrong connector size. Remove the connector, clean the port with a lint-free cloth, re-confirm you have the correct connector for the port (low vs. high side), and try again with a straight push. If the port's outer collar is bent or damaged, it may need to be replaced before the quick connector can engage.
Refrigerant Leaking at the Connection Point
A leak at the connector usually means the O-ring is damaged, the connector is not fully engaged, or the service port's Schrader valve is faulty. Disconnect the connector, inspect the O-ring for cracks or flattening, and replace it if necessary. Re-engage the connector and listen for a firm click. A properly seated quick connector with an intact O-ring should hold pressure with zero detectable leak — even at low-side pressures above 150 PSI in a static system.
Connector Is Difficult to Remove After Service
If the release collar is stiff or the connector feels stuck, do not force it. First, make sure the service valve is fully closed and system pressure has equalized. Then press the release sleeve firmly while pulling straight back. If residual pressure is still trapping the connector, briefly cracking the valve on your service equipment to bleed off a tiny amount of pressure can make removal easier. Twisting or rocking while pulling will damage both the connector and the service port.
Gauge Reads No Pressure After Connection
If your manifold gauge shows zero pressure after a secure connection, the Schrader valve inside the service port may be stuck closed or the connector's internal pin is not depressing it. This can happen with heavily corroded or seized Schrader valves. A Schrader valve tool (a simple, inexpensive hand tool) can remove and replace a faulty valve in minutes without discharging the entire system.
Wide Compatibility: What Vehicles and Applications Are Supported
Modern quick connectors are designed with broad compatibility in mind, covering the vast majority of passenger vehicles, light trucks, SUVs, and commercial vans on the road today.
- R-134a systems: Found in virtually all vehicles manufactured between 1994 and approximately 2020. Standard 1/4" low-side and 1/2" high-side quick connectors are universally compatible across makes and models.
- R-1234yf systems: Mandated in the European Union since 2017 and increasingly adopted globally. These systems use a proprietary connector size specifically designed to prevent accidental connection of R-134a equipment.
- Refrigerant charging: Quick connectors enable rapid connection to charging canisters and charging stations for topping up depleted AC systems.
- Pressure testing: Technicians use quick connectors to attach nitrogen pressure testing equipment to verify system integrity after component replacement or leak repair.
- Refrigerant recovery: Recovery machines connect via quick connectors to remove refrigerant from the system before major AC component service.
For professional shops, having a complete set of quick connectors covering both R-134a and R-1234yf port sizes means a single technician can service virtually any vehicle that walks in without stopping to source specialized adapters.
How to Maintain and Store Quick Connectors for Long Service Life
Quick connectors are durable, but they are precision components that benefit from basic care. Following these practices will ensure reliable performance over hundreds of connections.
- Inspect O-rings before each use. Replace any O-ring that shows signs of cracking, deformation, or hardening. Replacement O-ring kits are inexpensive and should be kept on hand.
- Keep dust caps on connectors when not in use. Debris in the connector body damages the O-ring and locking mechanism.
- Store connectors in a dry environment. Although the brass body resists corrosion, prolonged moisture exposure can degrade rubber seals and cause metal-on-metal binding in the release mechanism.
- Do not expose connectors to petroleum-based lubricants unless the product is specifically rated as compatible with HNBR seals. Petroleum-based oils swell and destroy rubber O-rings, leading to immediate leaks.
- Test the locking mechanism before service. Manually cycle the release collar a few times to confirm smooth operation. A sticky or unresponsive release collar is a warning sign to replace the connector before use.
With proper maintenance, a high-quality quick connector can deliver hundreds of reliable connection cycles over its service life — making the investment in quality components worthwhile for both professional technicians and dedicated DIY mechanics.
Quick Connector vs. Traditional Threaded Fitting: A Direct Comparison
Understanding why quick connectors have become the industry standard helps reinforce proper usage habits and sets realistic expectations.
| Feature | Quick Connector | Traditional Threaded Fitting |
|---|---|---|
| Connection Time | Under 10 seconds | 1–3 minutes with tools |
| Tools Required | None | Wrenches, thread sealant |
| Risk of Over-Tightening | None | High — damages port threads |
| Sealing Mechanism | Internal O-ring, positive lock | Thread engagement + washer |
| Reusability | Hundreds of cycles | Limited by thread wear |
| Leak Risk if Misused | Low (clear click confirmation) | Moderate (torque dependent) |
When to Seek Professional Help
Quick connectors make AC service accessible to knowledgeable DIY mechanics, but certain situations call for professional equipment or expertise. Consider taking the vehicle to a certified AC technician if:
- The AC system is completely empty of refrigerant — this usually indicates a significant leak that must be located and repaired before recharging. Simply adding refrigerant to a leaking system is a short-term fix at best.
- The service port is badly damaged, corroded, or the Schrader valve is broken beyond simple replacement.
- Your vehicle uses R-1234yf refrigerant — handling this refrigerant legally requires certified equipment and technician certification in many regions due to its mild flammability classification.
- You suspect a compressor failure, evaporator leak, or condenser damage — these repairs involve opening the sealed refrigerant circuit and require professional recovery equipment.
- The AC system has never been properly serviced and you are unsure of its refrigerant type or service history.
Pre-sales selection assistance and after-sales installation guidance are available for those who need help identifying the right quick connector for a specific vehicle or application. Getting the selection right the first time eliminates the frustration of mismatched connectors and ensures the job gets done safely and efficiently.
-
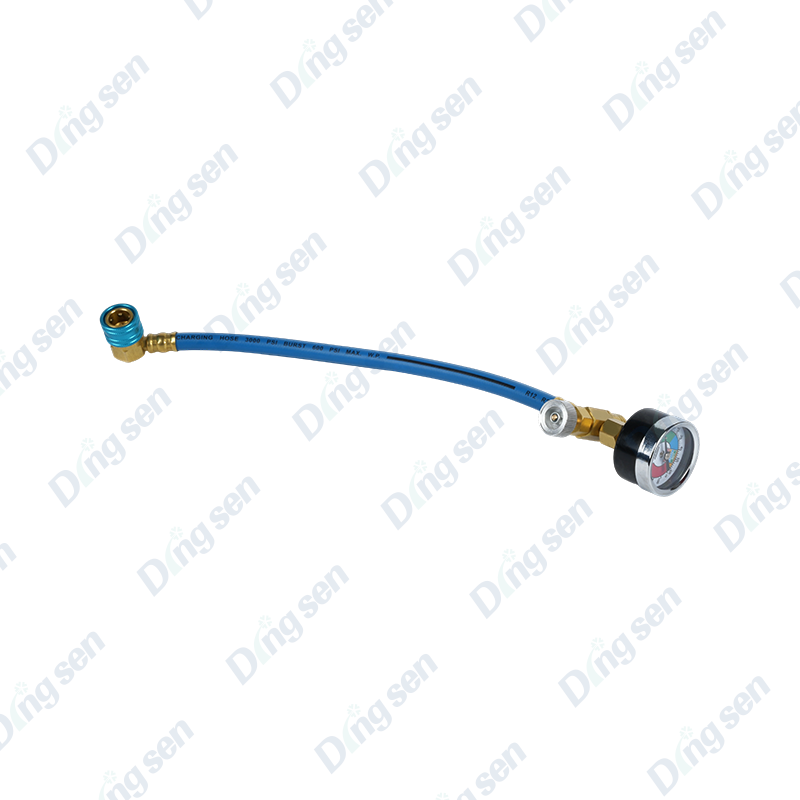
The air conditioning refrigerant filling tool is a professional repair accessory...
-
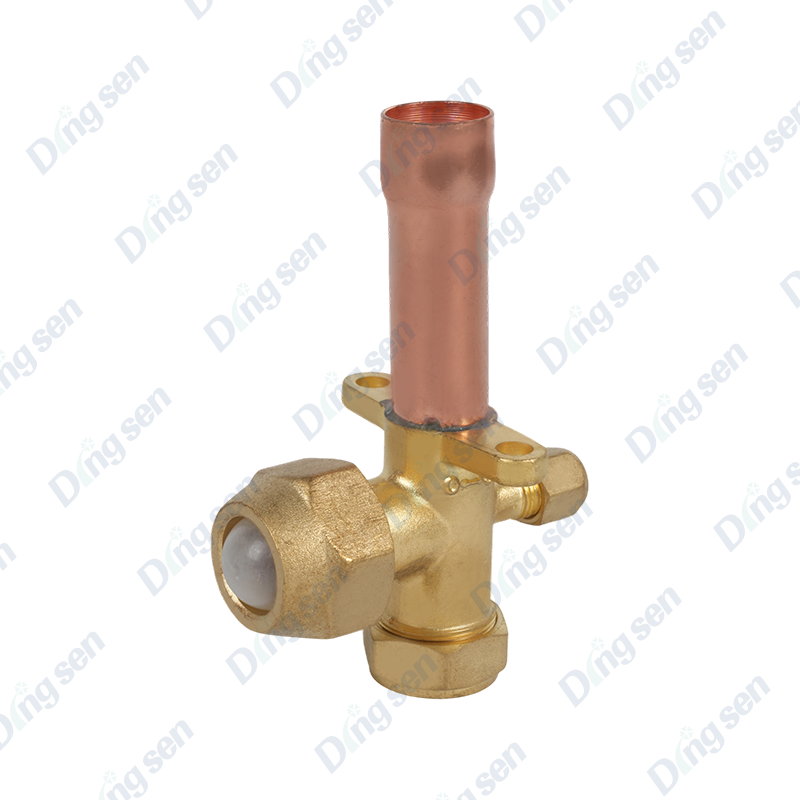
The air conditioning three-way valve is a key component for switching and contro...
-
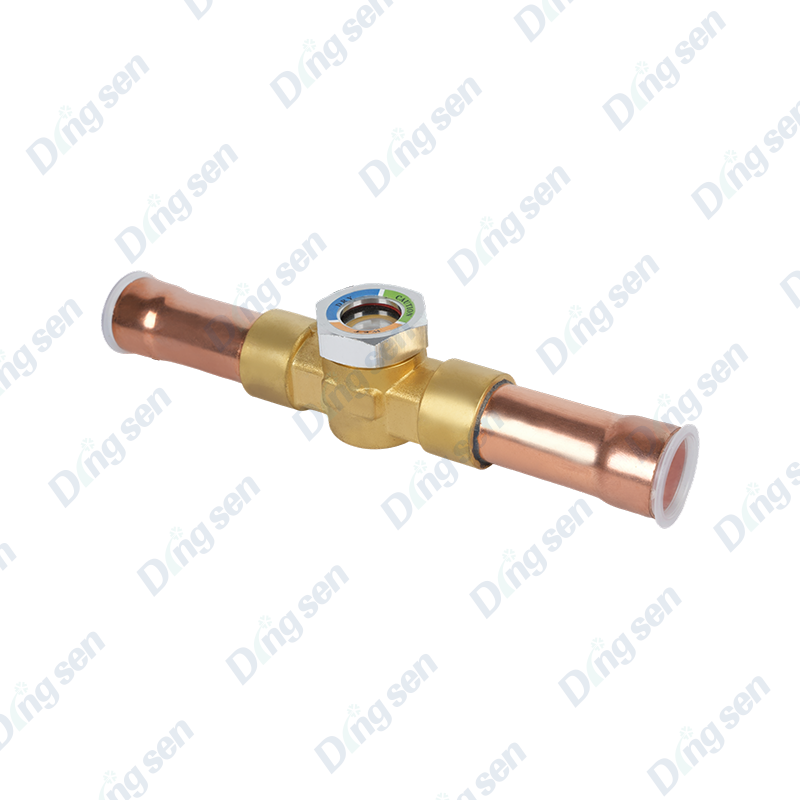
The cartridge-type sight glass is a visual monitoring component for refrigeratio...
-
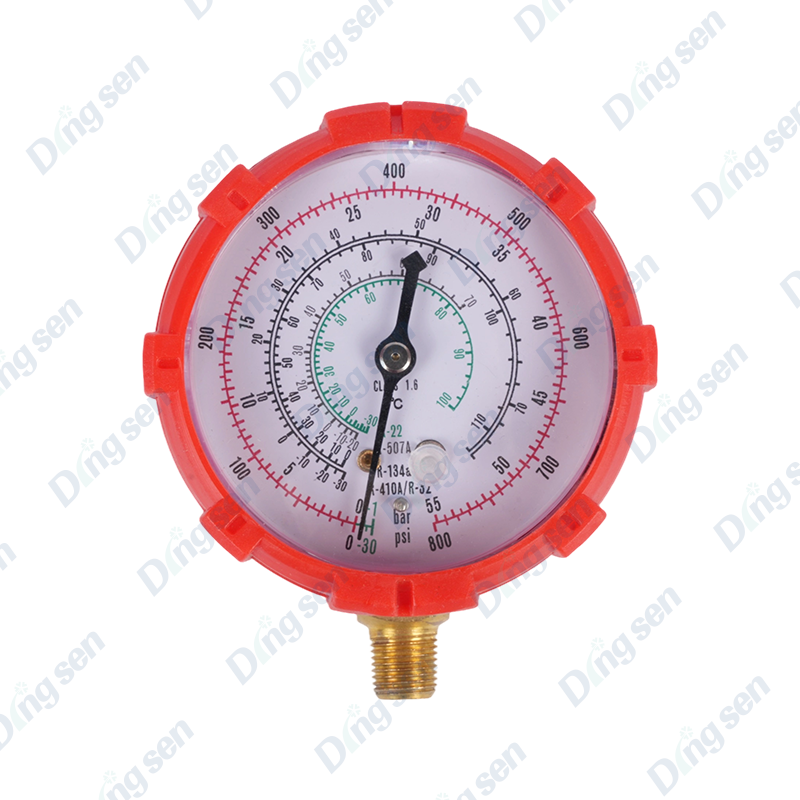
The Air Conditioner Fluorine Filling Pressure Gauge is a dedicated instrument fo...
-
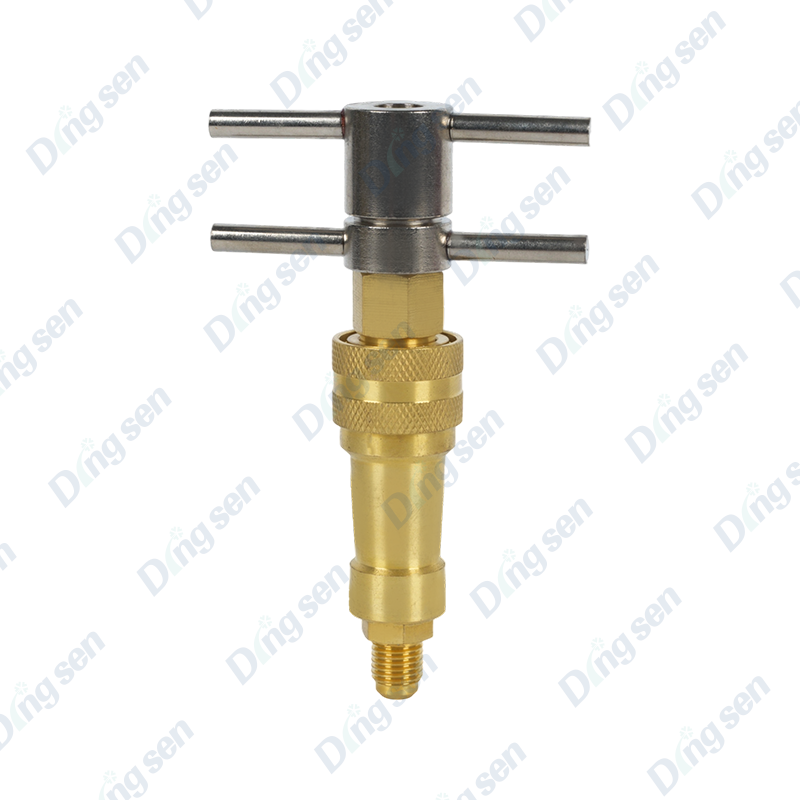
The refrigerator fluorine quick connector is a specialized connection accessory ...
-
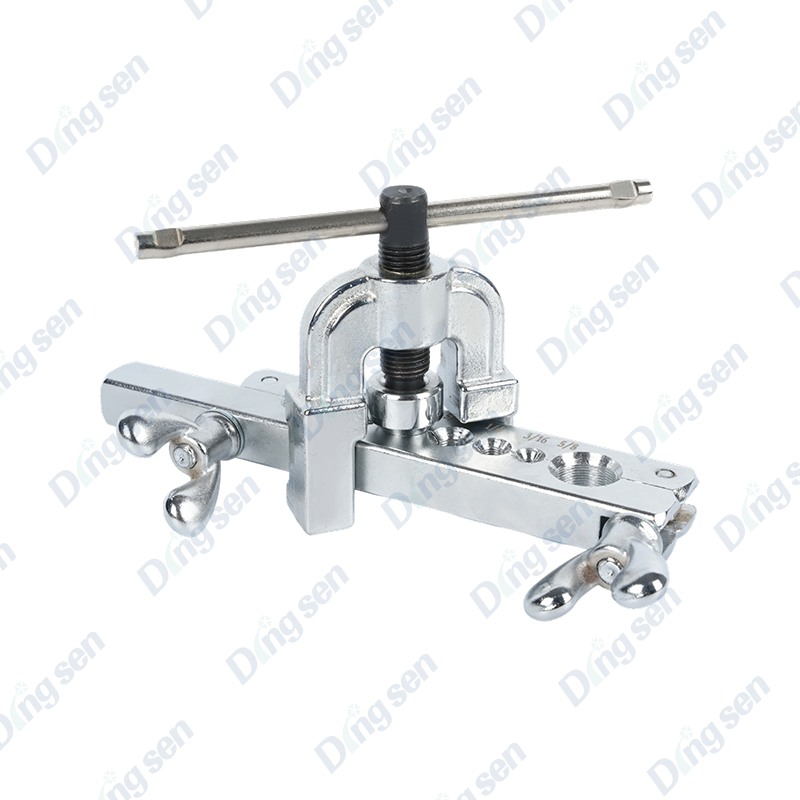
The air conditioning copper tube reamer is a specialized tool for connecting cop...

Contact Us
-

No. 109 Jiefang Road, Diankou Town, Zhuji City, Shaoxing, Zhejiang Province
-

+86-13867581196
-

Copyright © shaoxing DingSen Refrigeration Technology Co Ltd. All Rights Reserved
OEM Refrigeration Parts Manufacturer Custom Automotive AC Parts Factory