
 en
en  Español
 عربى
عربى
How to Use Air Conditioner Repair Tools Safely?
Using air conditioner repair tools safely requires following three core principles: always isolate the system from electrical power before beginning work, use tools that are correctly rated for the refrigerant type and system pressure involved, and wear appropriate personal protective equipment (PPE) at every stage. Whether handling manifold gauge sets, vacuum pumps, refrigerant recovery machines, flaring tools, or pipe cutters, the risk of refrigerant burns, electrical shock, high-pressure injury, and toxic gas exposure is real — but entirely preventable when the right tools are used correctly and in the right sequence.
Content
- 1 Understanding the Tools in a Professional AC Repair Kit
- 2 Essential Personal Protective Equipment Before Starting Any AC Repair
- 3 Safe Use of the Manifold Gauge Set
- 4 Safe Use of the Vacuum Pump
- 5 Safe Use of Refrigerant Recovery Equipment
- 6 Safe Use of Pipe Cutting and Flaring Tools
- 7 Electrical Safety During AC Repair Work
- 8 Common AC Repair Tool Hazards and How to Avoid Them
- 9 Tool Inspection and Maintenance for Safe Ongoing Use
- 10 About Professional AC Repair Tool Quality
Understanding the Tools in a Professional AC Repair Kit
A professional air conditioner repair tool kit is designed to cover the complete service workflow — from system diagnosis and pressure testing through refrigerant recovery, vacuuming, recharging, and pipe connection. Kits of this type are typically supplied in a sturdy metal tool box with a modular interior layout that allows each tool to be located and retrieved quickly on-site, reducing errors that occur when technicians work with unfamiliar or disorganised equipment.
The core tools found in a professional AC repair kit and their functions include:
- Manifold gauge set: Measures high-side and low-side system pressures during diagnosis and charging. Essential for identifying overcharge, undercharge, and compression faults.
- Vacuum pump: Evacuates air and moisture from the refrigerant circuit before charging. A two-stage vacuum pump achieves pressures below 15 microns (0.02 mbar), which is necessary to prevent moisture-related system failure.
- Refrigerant recovery machine: Removes refrigerant from the system into a recovery cylinder for safe storage or recycling — a legal requirement in most jurisdictions before opening any refrigerant circuit.
- Refrigerant scale: Weighs the recovery cylinder and measures the precise amount of refrigerant recovered or charged, ensuring compliance with system specifications.
- Pipe cutter and deburring tool: Cuts copper refrigerant tubing to the required length and removes internal burrs that would otherwise restrict flow or damage valve seats.
- Flaring tool: Creates leak-free flared joints on copper pipe ends for secure connection to service ports and components.
- Leak detector: Electronic or UV dye-based detector that identifies refrigerant leaks at joints, valves, and coils.
- Thermometer and clamp meter: Verify system temperatures and electrical parameters during commissioning and fault diagnosis.
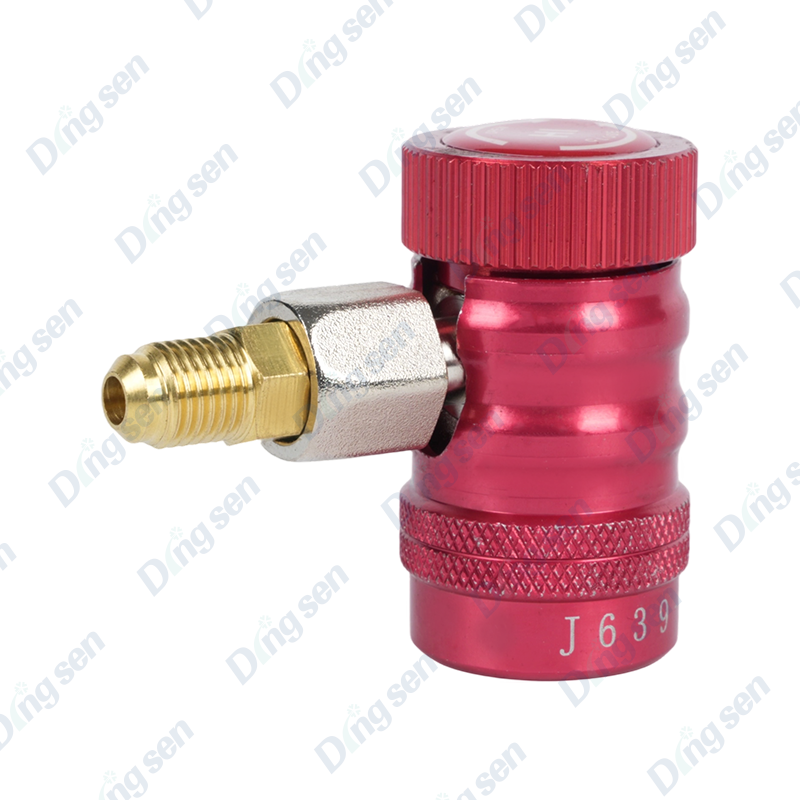
Essential Personal Protective Equipment Before Starting Any AC Repair
PPE is not optional in air conditioning repair work. Refrigerants such as R-410A, R-32, and R-22 can cause severe frostbite on skin contact at atmospheric pressure, and some refrigerants decompose into toxic compounds including hydrofluoric acid when exposed to heat or flame. Electrical components in AC systems carry live voltages of 230V–460V in residential and commercial installations.
- Safety goggles or face shield: Protects eyes and face from refrigerant spray during connection and disconnection of service hoses. Liquid refrigerant leaving a pressurised line can reach temperatures of -40°C to -51°C and causes immediate eye damage on contact.
- Insulated gloves: Cryogenic-rated gloves protect against refrigerant frostbite; electrically insulated gloves rated to at least 1,000V Class 00 are required when working near live electrical components.
- Respirator or ventilation: Work in well-ventilated areas. High concentrations of refrigerant vapour displace oxygen and can cause asphyxiation in enclosed spaces. An air-purifying respirator with organic vapour cartridges provides additional protection when working in confined equipment rooms.
- Closed-toe footwear: Protects feet from dropped tools and refrigerant cylinder contact.
- Flame-resistant clothing: Required when brazing or when working with systems containing flammable refrigerants such as R-290 (propane) or R-32, which have lower flammability limits.
Safe Use of the Manifold Gauge Set
The manifold gauge set is the most frequently used diagnostic tool in AC repair and also one of the most commonly misused. Incorrect connection, wrong refrigerant compatibility, or hose failure under pressure are leading causes of field injuries.
- Verify refrigerant compatibility: Confirm that the manifold gauge set and hoses are rated for the specific refrigerant in the system. R-410A systems operate at significantly higher pressures than R-22 systems — high-side pressures can reach 400–450 psi (28–31 bar) in R-410A systems. Using an R-22 gauge set on an R-410A system risks hose rupture.
- Inspect hoses before connecting: Check hoses for cracks, kinks, and damaged fittings. Replace any hose showing visible wear — a hose failure at high pressure causes uncontrolled refrigerant release.
- Ensure system power is OFF before connecting to service ports: Never connect or disconnect gauge hoses while the compressor is running at high load, as pressure spikes during compressor shutdown can exceed gauge limits.
- Connect low-side (blue) hose first: The low-pressure side is at a safer pressure for initial connection. Always identify and confirm which service port is high-side and which is low-side before connecting — reverse connection on an R-410A system can damage gauges and cause sudden pressure release.
- Open valves slowly and gradually: Rapid valve opening causes pressure shock through hoses and gauge internals. Turn manifold valves slowly to allow pressure to equalise progressively.
- Close all valves before disconnecting hoses: Ensure manifold valves are fully closed and system pressure has been reduced before removing service hose connections to prevent refrigerant flash release at the fitting.
Safe Use of the Vacuum Pump
The vacuum pump evacuates the refrigerant circuit to remove air and moisture before charging. Improper use can contaminate the pump oil with refrigerant or moisture, reducing pump performance and potentially releasing contaminated oil vapour.
- Check and change pump oil regularly: Contaminated oil appears milky or dark. Pump oil should be changed after every job on a system known to have moisture ingress, and at least every 10–15 hours of pump operation during normal service work.
- Never run the vacuum pump with refrigerant present in the circuit: Always recover all refrigerant before beginning evacuation. Pulling refrigerant through a vacuum pump damages the pump and contaminates the oil with refrigerant compounds.
- Use the correct hose diameter: Larger diameter hoses reduce evacuation time significantly. A 3/8-inch hose achieves the target vacuum level 40–60% faster than a 1/4-inch hose on the same system, reducing the temptation to cut evacuation time short.
- Allow adequate evacuation time: A minimum vacuum hold of 500 microns or below for at least 30 minutes with the pump isolated (valve closed) verifies the system is leak-free and moisture-free before charging. If the vacuum rises quickly after isolating the pump, a leak or residual moisture is present — do not charge until the cause is identified and rectified.
- Ensure adequate ventilation around the pump: Vacuum pump exhaust contains oil mist. Operate in a ventilated area and direct the exhaust outlet away from the technician's breathing zone.
Safe Use of Refrigerant Recovery Equipment
Refrigerant recovery is legally required before opening any refrigerant circuit in most countries. Venting refrigerant to atmosphere is prohibited under environmental regulations including the EU F-Gas Regulation, the US Clean Air Act, and equivalent legislation globally. Improper recovery also creates significant personal safety hazards.
- Use only an approved, correctly rated recovery cylinder: Recovery cylinders must be rated for the refrigerant type and at a higher pressure than the system being recovered. Never fill a recovery cylinder beyond 80% of its rated capacity by weight — overfilled cylinders can rupture due to hydrostatic pressure buildup when temperature rises.
- Weigh the recovery cylinder before and during recovery: Use a refrigerant scale throughout the recovery process to prevent overfilling. Cylinder weight must never exceed the stamped tare weight plus 80% of the cylinder's rated refrigerant capacity.
- Keep recovery cylinders cool and upright: Store and use cylinders in a cool, shaded area, upright and secured against falling. Never apply heat to a cylinder to accelerate recovery — this dangerously increases internal pressure.
- Use dedicated cylinders per refrigerant type: Never mix refrigerants in a recovery cylinder. Cross-contamination renders the recovered refrigerant unrecyclable and can create toxic or flammable compound mixtures.
- Check recovery machine oil level before use: Low oil in the recovery machine compressor causes overheating and premature failure. Check the oil sight glass or dipstick before each use session.
Safe Use of Pipe Cutting and Flaring Tools
Pipe cutting and flaring are mechanical operations that carry their own specific injury risks — cuts from pipe ends, hand injuries from rotating cutters, and refrigerant leaks from poor flare quality that later fail under system pressure.
Pipe Cutter Safety
- Secure the pipe firmly in the cutter before rotating — a slipping cutter can cause the cutting wheel to skate across the pipe and contact fingers.
- Advance the cutting wheel gradually — no more than half a turn per revolution of the cutter body. Aggressive over-tightening collapses the pipe wall and leaves a ragged edge that cannot be flared or brazed reliably.
- Always deburr the pipe end thoroughly with the built-in or separate deburring tool. Internal burrs restrict refrigerant flow, damage valve seats, and shed metal particles into the refrigerant circuit — a significant cause of compressor valve failure.
- Cap or plug cut pipe ends immediately if they will not be used immediately, to prevent moisture and debris entry into the refrigerant circuit.
Flaring Tool Safety
- Fit the flare nut onto the pipe before making the flare — a common beginner mistake is to flare first and find the nut cannot pass over the flared end.
- Ensure the pipe protrudes from the flare block by the correct amount — typically 0–0.5 mm for standard flares. Too little protrusion produces a thin, weak flare; too much produces an oversized flare that will not seat correctly in the flare union.
- Inspect completed flares visually and with a flare gauge if available. A correct 45-degree flare has a uniform, crack-free, mirror-smooth surface. Any cracking, eccentricity, or roughness requires the flare to be cut off and remade — a flare leak at system pressure will release refrigerant.
- Tighten flare unions to the torque specified by the pipe diameter — over-tightening splits the flare and under-tightening causes leaks. Use a torque wrench where possible, particularly on R-410A systems operating at higher pressures.
Electrical Safety During AC Repair Work
Air conditioning systems contain live electrical components that present a serious shock and electrocution hazard. Electrical safety must be treated with equal priority to refrigerant safety throughout any service procedure.
- Isolate and lock out the power supply at the dedicated circuit breaker or isolator before removing any access panels or beginning work on electrical components. Use a lockout/tagout device to prevent accidental re-energisation while work is in progress.
- Verify isolation with a non-contact voltage tester before touching any wiring. Even after isolating at the circuit breaker, capacitors in the AC unit can retain dangerous charges of 300–500V DC for several minutes after power is removed — discharge capacitors safely using a discharge resistor tool before handling.
- Use insulated tools rated to at least 1,000V when working near electrical terminals, even when the system is believed to be isolated. Insulated screwdrivers, pliers, and wrenches are standard equipment in a professional AC repair kit.
- Never work alone on live electrical systems. A second person is required to respond in the event of electrical shock — cardiac arrest from electrocution can occur within seconds at 230V AC, and a lone technician cannot call for help.
- Use a clamp meter, not a contact probe ammeter, for current measurement on live circuits — clamp meters eliminate the need to break into the circuit and reduce contact shock risk.
Common AC Repair Tool Hazards and How to Avoid Them
| Tool / Operation | Primary Hazard | Prevention Measure |
|---|---|---|
| Manifold gauge set connection | Refrigerant spray / frostbite | Wear goggles and cryogenic gloves; close valves before connecting |
| Refrigerant recovery cylinder | Overfill and cylinder rupture | Weigh continuously; never exceed 80% capacity |
| Vacuum pump operation | Oil mist inhalation; refrigerant contamination | Ventilate area; recover all refrigerant before evacuating |
| Pipe cutter use | Cuts from pipe ends; burr debris | Secure pipe firmly; deburr all cut ends; cap immediately |
| Flaring tool operation | Flare failure under pressure; refrigerant leak | Inspect every flare; torque to specification; redo if cracked |
| Electrical component access | Shock / electrocution; capacitor discharge | Lock out power; discharge capacitors; use insulated tools |
| Refrigerant charging | Overcharge causing high-pressure fault | Charge by weight using a calibrated scale; verify with gauges |
Tool Inspection and Maintenance for Safe Ongoing Use
A tool that is in poor condition is a safety hazard regardless of how correctly it is used. Regular inspection and maintenance of AC repair tools is an essential part of a safe working practice.
- Manifold gauge set: Calibrate gauges annually against a known reference. Inspect hoses for cracking, kinking, and fitting thread damage before every use. Replace hoses with visible surface cracks immediately — a hose failure at 400+ psi causes severe injury.
- Vacuum pump: Change oil every 10–15 hours of operation. Check the oil sight glass before each use. Inspect the intake filter and replace if blocked — a blocked filter reduces pump performance and increases motor temperature.
- Recovery machine: Check refrigerant oil level and condition before each session. Inspect inlet and outlet hose connections for wear. Service recovery machine compressors at manufacturer-specified intervals — typically every 500–1,000 hours of operation.
- Flaring tool: Clean the cone and block collets after every use to remove copper shavings. Inspect the cone surface for wear marks or flat spots that would produce an uneven flare. Replace the cone when surface wear becomes visible.
- Recovery cylinders: Inspect cylinders for dents, corrosion, and valve damage before every use. Never use a cylinder that has been dropped, shows corrosion pitting, or has a damaged valve — have it inspected or condemned. Cylinders must be pressure-tested at intervals specified by national standards, typically every 5 years.
- Tool storage: Return all tools to their designated positions in the tool box after each use. A modular tool kit design ensures that missing tools are immediately obvious, preventing field work starting without a necessary safety-critical item.
About Professional AC Repair Tool Quality
The quality and reliability of the tools in an AC repair kit directly determine the safety and efficiency of every job performed with them. Tools built to precise dimensional tolerances — manifold gauges with calibrated accuracy, vacuum pumps achieving rated micron performance, and flaring tools producing consistent 45-degree flare geometry — are not just a performance preference; they are a safety requirement.
Shaoxing DingSen Refrigeration Technology Co., Ltd., founded in 2008, is a China OEM refrigeration parts manufacturer and automotive AC parts factory, mainly producing refrigeration accessories and auto air-conditioning accessories. Having been established for more than 10 years, the company has taken "Honesty and Innovation" as its goal, and "Superb Manufacture, Good Virtue, Serious Attitude, and High Quality" as its business philosophy. Guided by high-tech development, DingSen adheres to a sustainable path of growth focused on quality and benefit — principles that are directly reflected in the dimensional accuracy, pressure ratings, and material specifications of the professional AC repair tool series they produce.
For technicians — whether novice or experienced — working with a complete, professionally manufactured tool kit from a manufacturer with verifiable quality standards means every tool in the kit has been built to perform correctly and safely under the pressures, temperatures, and chemical exposures of real-world AC service work.
-
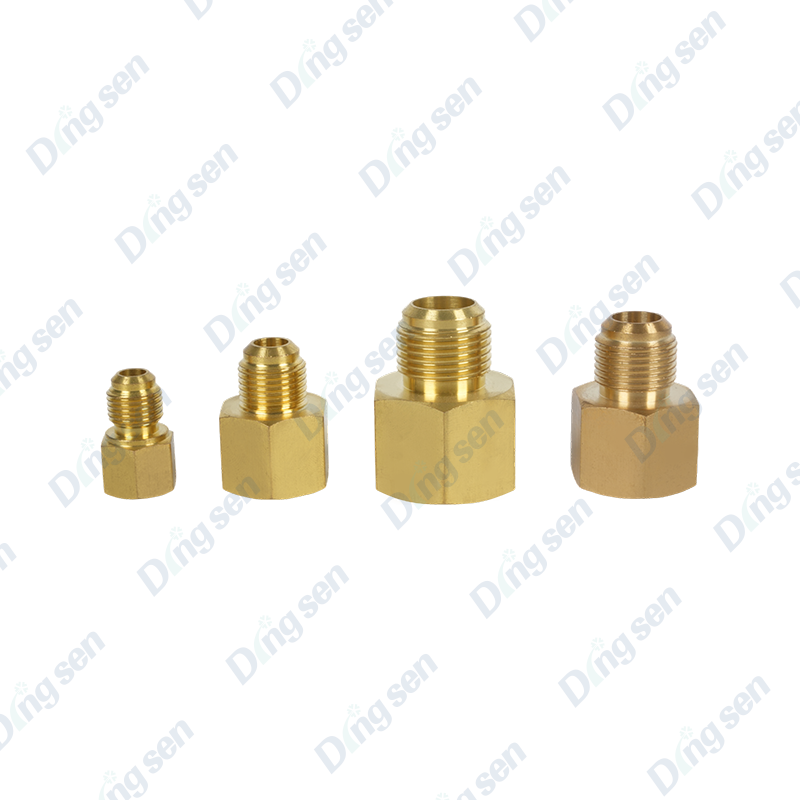
Air conditioning copper pipe female-male connector are core fittings for connect...
-
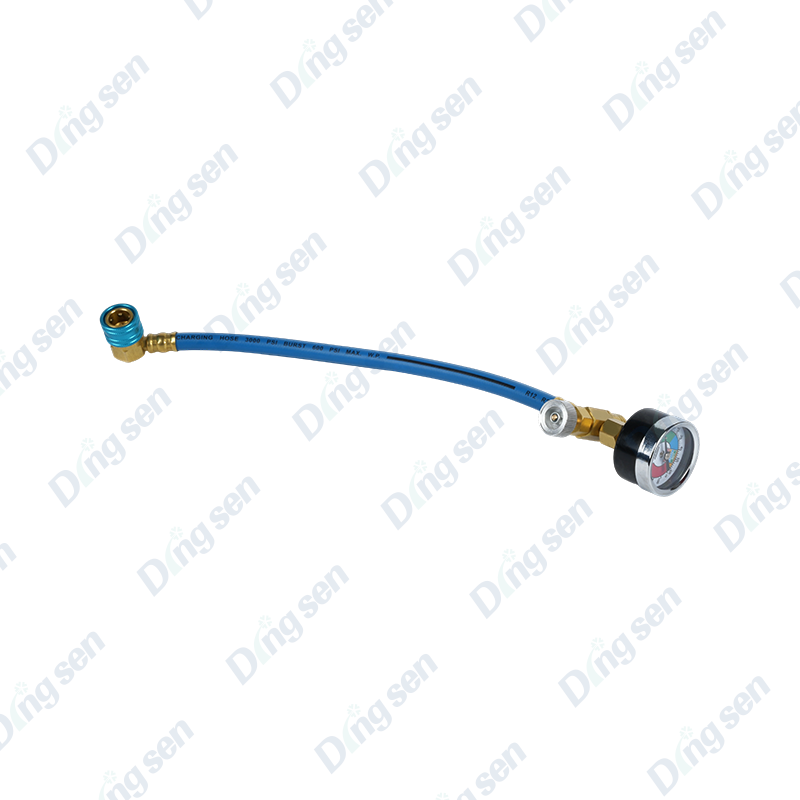
The air conditioning refrigerant filling tool is a professional repair accessory...
-
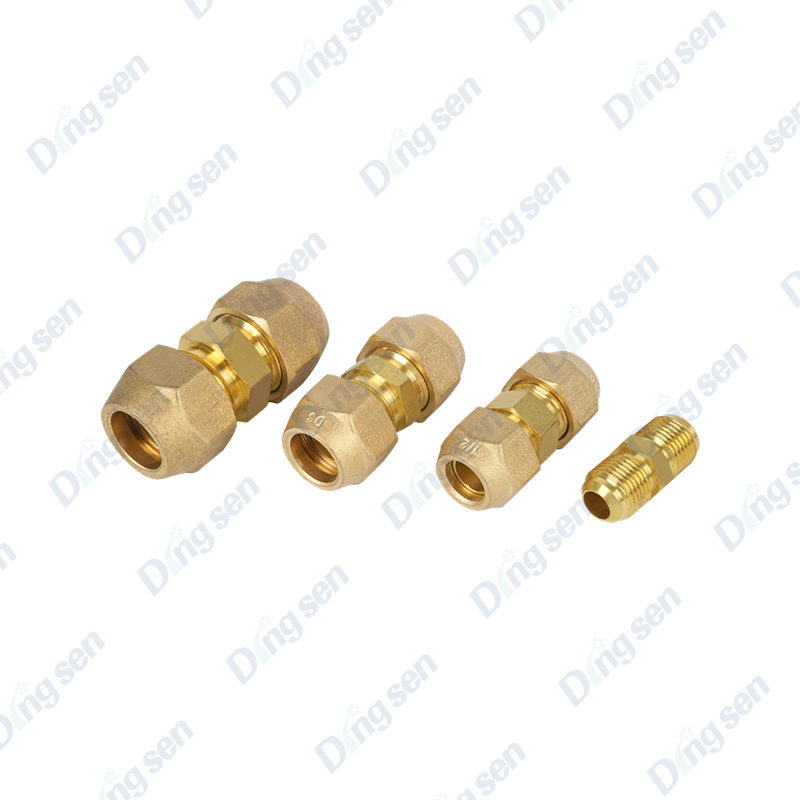
Air conditioning copper pipe duoble connector are core fittings for connecting t...
-
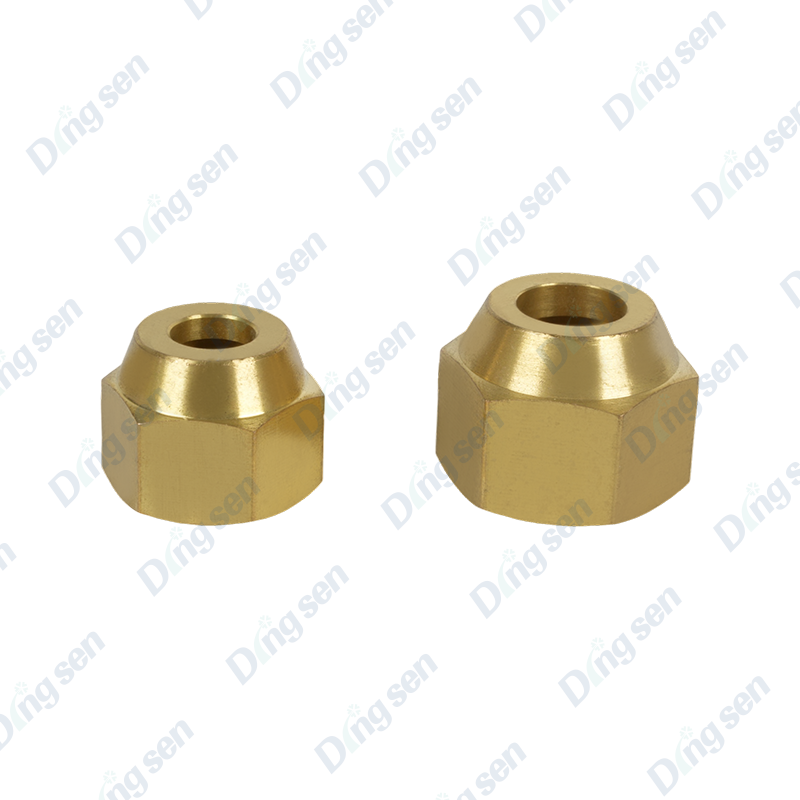
Air conditioning reducing nuts are sealed connectors for connecting copper pipes...
-
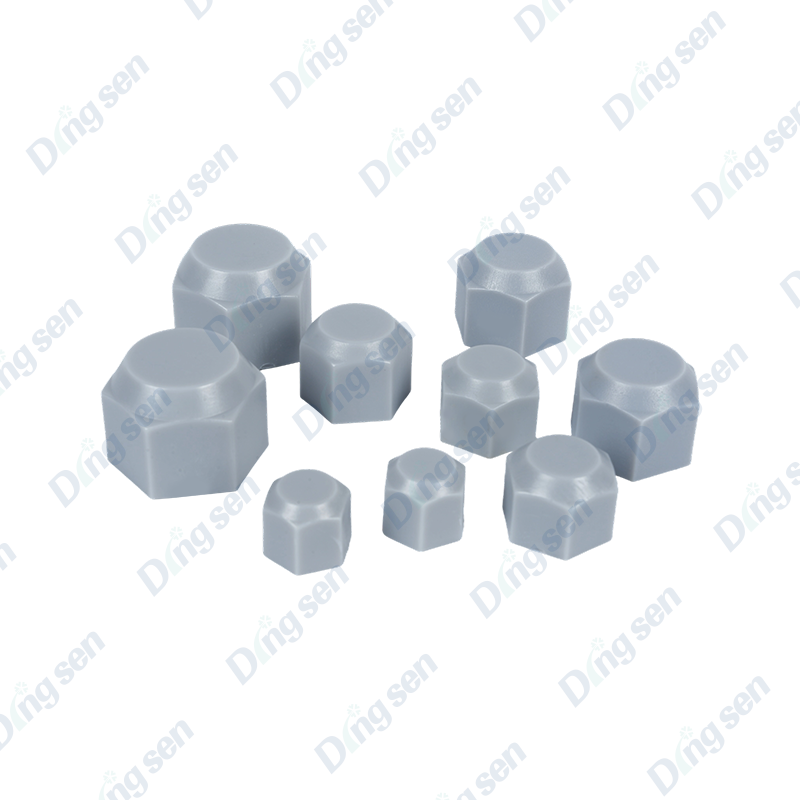
Air conditioning plastic nuts are lightweight seals for connecting copper pipes ...
-
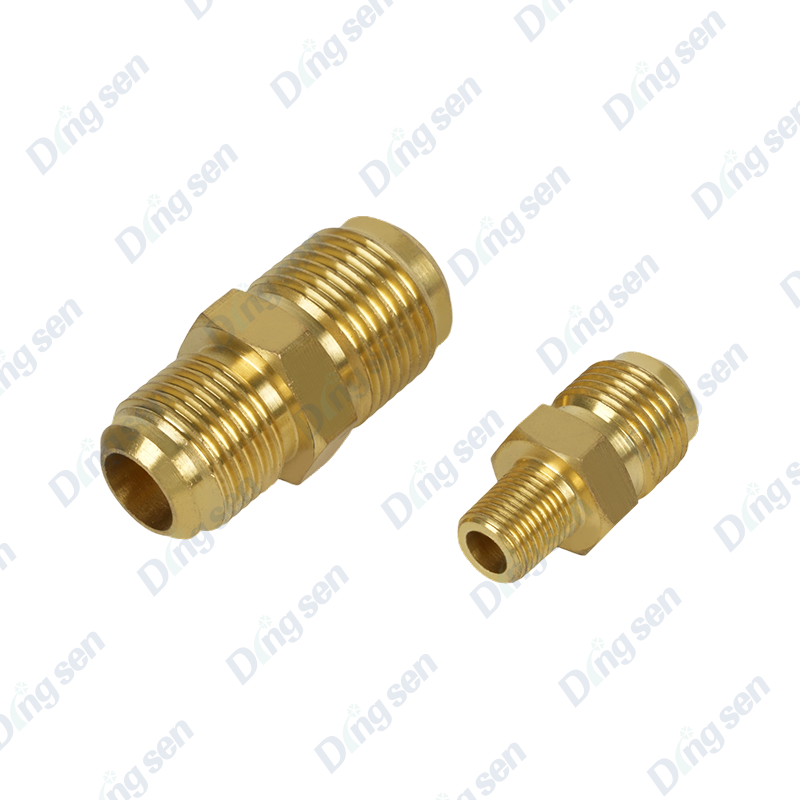
Air conditioning copper pipe reducing double joints are core fittings for connec...

Contact Us
-

No. 109 Jiefang Road, Diankou Town, Zhuji City, Shaoxing, Zhejiang Province
-

+86-13867581196
-

Copyright © shaoxing DingSen Refrigeration Technology Co Ltd. All Rights Reserved
OEM Refrigeration Parts Manufacturer Custom Automotive AC Parts Factory