
 en
en  Español
 عربى
عربى
How to use a tire valve core wrench?
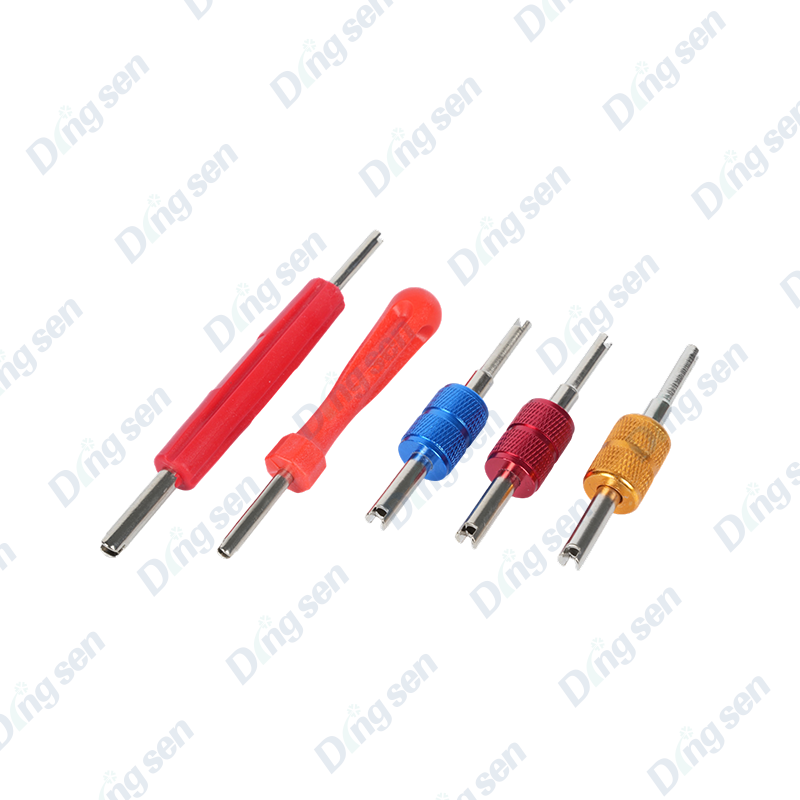
Using a tire valve core wrench involves four essential actions: deflate the tire to release pressure, insert the wrench head into the valve stem until it engages the hex base of the valve core, turn counter-clockwise to remove or clockwise to install, then verify the seal with a soapy water test. The entire process takes under two minutes when done correctly, and the wrench's precision-machined head does the hard work — your job is simply to guide it steadily without forcing or rushing.
The tire valve core wrench is a specialized tool forged from high-strength chrome-vanadium steel, with a clamping head that conforms exactly to the hexagonal structure of the valve core. This precise fit prevents slippage and damage — two problems that arise immediately when incorrect tools are used. Whether you are repairing a slow leak, injecting tire sealant, replacing a TPMS-linked valve, or performing routine preventive maintenance, this guide covers every step, safety point, and technique detail you need.
Content
- 1 What You Need Before Starting: Tools and Safety Checks
- 2 Step-by-Step: How to Remove a Valve Core
- 2.1 Step 1 — Release All Air Pressure from the Tire
- 2.2 Step 2 — Remove the Valve Dust Cap
- 2.3 Step 3 — Insert the Wrench Head into the Valve Stem
- 2.4 Step 4 — Turn Counter-Clockwise to Loosen the Valve Core
- 2.5 Step 5 — Withdraw and Secure the Removed Valve Core
- 2.6 Step 6 — Inspect the Removed Valve Core
- 3 Step-by-Step: How to Install a New Valve Core
- 3.1 Step 1 — Inspect and Clean the Valve Stem Interior
- 3.2 Step 2 — Seat the New Valve Core on the Wrench
- 3.3 Step 3 — Start the Threads by Hand
- 3.4 Step 4 — Tighten with the Wrench to Correct Torque
- 3.5 Step 5 — Re-Inflate the Tire to Correct Pressure
- 3.6 Step 6 — Test for Leaks with Soapy Water
- 3.7 Step 7 — Replace the Valve Dust Cap
- 4 Using the Wrench for Specific Applications
- 5 Handling Difficult Valve Cores: Seized, Corroded, and Damaged
- 6 Valve Core Wrench Technique Comparison: Common Errors vs. Correct Method
- 7 Valve Core Wrench Tips for Auto Repair Shops and Professional Technicians
- 8 How Often Should You Replace a Valve Core?
- 9 Care and Maintenance of Your Valve Core Wrench
- 10 Complete Usage Reference: Valve Core Wrench at a Glance
What You Need Before Starting: Tools and Safety Checks
Completing a valve core service correctly starts with having the right tools on hand and making a few basic safety checks before touching the valve stem.
Tools and Supplies to Gather
- Tire valve core wrench — ensure it is the correct size for your valve core type (TR413/TR415 for most passenger vehicles; larger metal stem tools for trucks)
- Replacement valve core — have the correct replacement ready before removing the old one; valve cores cost only a few cents to under one dollar each
- Tire pressure gauge — needed to verify correct inflation after reinstallation
- Air pump or compressor — to re-inflate the tire after core replacement
- Soapy water in a spray bottle or small container — for post-installation leak testing
- Clean lint-free cloth — for wiping the valve stem area before and after service
- Small container or magnetic tray — to hold the removed valve core safely during the service
Safety Checks Before You Begin
The single most important safety rule for valve core removal is this: never attempt to unscrew a valve core while the tire is fully inflated. A standard passenger tire inflated to 32 to 36 PSI holds significant compressed air. When the valve core threads disengage during removal, that pressure can eject the core at high velocity — fast enough to cause injury to hands or face. Partially loosening a valve core without fully releasing pressure can also cause sudden complete deflation, destabilizing a vehicle on a lift or jack.
- If the vehicle is on a jack or lift, ensure it is fully stable and all safety supports are in place before beginning.
- Work in a well-lit area — the valve stem is small and precise alignment of the wrench head is important.
- Have safety glasses available — particularly advisable if working with tires at high pressure (trucks, commercial vehicles).
Step-by-Step: How to Remove a Valve Core
Follow these steps in sequence for safe, damage-free valve core removal on any passenger vehicle, truck, motorcycle, or bicycle with a standard Schrader-type valve.
Step 1 — Release All Air Pressure from the Tire
Before touching the wrench to the valve core, you must release the tire's air pressure. Use the pin depressor on your tire pressure gauge, a small nail, or the tip of a pen to press down on the pin in the center of the valve stem. Hold it down until you can no longer hear or feel air escaping — this confirms the tire is fully deflated.
For a passenger car tire inflated to approximately 32 PSI, complete deflation through the valve pin takes 30 to 90 seconds depending on tire volume. For truck tires inflated to 80 to 120 PSI, allow considerably more time. Do not proceed to the next step until deflation is complete.
Step 2 — Remove the Valve Dust Cap
Unscrew the valve dust cap by hand and place it in a secure location — a pocket, small container, or on a magnetic tray. Valve caps are small and easily lost, especially when working outdoors or in a shop environment with many loose parts. The cap provides a secondary seal and protects the valve core from moisture, road debris, and contaminants, so it must be reinstalled when service is complete.
While the cap is removed, visually inspect the exterior of the valve stem for cracks, corrosion, or visible damage to the rubber or metal body. A damaged stem requires stem replacement — proceeding with only a valve core change on a cracked or corroded stem will not restore airtightness.
Step 3 — Insert the Wrench Head into the Valve Stem
Hold the valve core wrench between your thumb and forefinger with a relaxed grip — the same way you would hold a pen. Guide the clamping head of the wrench into the open end of the valve stem bore. Insert it straight, aligned with the center axis of the stem. Any angular entry forces the head against the stem wall and makes it impossible to seat correctly on the valve core hex.
Push the wrench head gently forward until you feel it contact the valve core. At this point, apply slight additional forward pressure while rotating the wrench back and forth through a small arc (roughly 30 degrees each direction) until you feel the hex socket drop squarely onto the valve core's hexagonal base. This positive engagement is felt as a subtle click or firm stop — the tool will no longer rotate freely at that point.
Step 4 — Turn Counter-Clockwise to Loosen the Valve Core
With the wrench head fully seated on the valve core hex, rotate the handle counter-clockwise (standard left-hand thread for valve cores — "lefty loosey" applies here). Apply steady, moderate pressure. The first quarter-turn may require slightly more force if the valve core has not been disturbed in a long time and has developed light corrosion on the threads.
If significant resistance is felt at the start of rotation, do not force the wrench — doing so risks rounding off the hex corners of the valve core, making it impossible to remove. Instead, stop rotation, apply a small drop of penetrating lubricant to the external base of the valve stem, wait 3 to 5 minutes, then try again. The lubricant wicks into the threads through capillary action and breaks down corrosion products.
Once the valve core begins to turn freely, continue rotating counter-clockwise. The core will unscrew in approximately 3 to 5 full turns before it is fully free from the valve stem threads.
Step 5 — Withdraw and Secure the Removed Valve Core
Once the valve core is fully unthreaded, slowly withdraw the wrench from the valve stem. If you are using a magnetic valve core wrench, the core is held magnetically against the tool head and will come out with the wrench — simply move the wrench to your parts tray and the core stays attached until you deliberately remove it.
If using a non-magnetic wrench, place your free hand beneath the valve stem to catch the core as the wrench withdraws, or maintain slight forward pressure on the wrench until it is clear of the stem and the core is visible, then grasp it directly. Place the core in a small container immediately — a valve core is only about 1 cm long and can roll away or be kicked out of reach in seconds on a garage floor.
Step 6 — Inspect the Removed Valve Core
Before discarding the old core, examine it briefly to understand why it failed — if it failed. Look for:
- Cracked or flattened rubber seal: The most common failure mode — the rubber gasket that presses against the seat degrades from UV exposure, ozone, and temperature cycling.
- Bent or corroded pin: The central pin can be bent by misaligned pressure gauge attachment or corroded by moisture entry. A bent pin may not fully seat against the rubber seal even when the core is correctly installed.
- Damaged threads: Thread damage can result from over-tightening on the previous installation or from using incorrect tools. If the threads are damaged, also inspect the valve stem interior threads — if those are damaged, the stem requires replacement.
Step-by-Step: How to Install a New Valve Core
Installing a valve core correctly is just as important as removing the old one carefully. A poorly installed core — cross-threaded, under-tightened, or over-tightened — will either leak immediately or damage the valve stem, creating a larger repair job.
Step 1 — Inspect and Clean the Valve Stem Interior
With the old core removed, use a lint-free cloth or a clean cotton swab to wipe the interior bore of the valve stem. Remove any visible debris, old rubber fragments, or corrosion deposits. A brief blast of compressed air clears any remaining loose particles if available.
Visually inspect the internal threads of the valve stem under good lighting. They should appear clean, evenly spaced, and undamaged. If thread damage is present — flattened or missing thread crests, distorted thread profile — a new valve core will not seal properly even if it appears to thread in. A damaged valve stem requires full stem replacement rather than core replacement alone.
Step 2 — Seat the New Valve Core on the Wrench
Place a fresh valve core onto the clamping head of the wrench. For magnetic wrenches, simply place the metal core near the head — it snaps into position automatically and is held securely for insertion into the stem. This eliminates the fiddly process of manually balancing the core in the socket and is particularly valuable when installing a core in a difficult-to-access location.
For non-magnetic wrenches, carefully seat the hex base of the valve core inside the socket of the wrench head, ensuring the core is centered and aligned with the wrench axis. Hold the assembly steady as you guide it to the valve stem — any tipping of the wrench will dislodge the core before it engages the threads.
Step 3 — Start the Threads by Hand
Guide the wrench with the core attached into the valve stem bore. Once the core tip contacts the stem threads, apply only finger-tip pressure and rotate clockwise to start the threads. The first one to two turns should be done entirely with finger pressure — no handle torque — until you feel the threads engaging cleanly and smoothly with no resistance or skipping.
This hand-starting step is critical for preventing cross-threading. Cross-threading occurs when the valve core begins to engage the stem threads at an angle, causing the threads to cut across each other rather than mating cleanly. The damage is irreversible and requires the entire valve stem to be replaced. If you feel any resistance or irregular sensation during the first two turns, stop immediately, withdraw the core, reposition, and try again rather than forcing through the resistance.
Step 4 — Tighten with the Wrench to Correct Torque
Once the threads are cleanly engaged by hand, use the wrench handle to tighten the valve core by rotating clockwise. Continue turning until you feel clear resistance indicating the valve core rubber seal is compressed against the valve seat. The correct final torque is approximately 2 to 3 inch-pounds (0.23 to 0.34 Newton-meters) — described in practical terms as "firm but not forced."
Most mechanics develop a feel for correct valve core torque with experience — it is the amount of resistance felt when tightening a small, fine-threaded fastener snugly, roughly comparable to tightening a spark plug finger-tight. Do not continue tightening after firm resistance is felt. Overtightening compresses the rubber seal excessively, causing it to extrude from under the valve core body and be cut — resulting in an immediate leak rather than preventing one. It can also crack the valve core body or strip the valve stem threads.
Step 5 — Re-Inflate the Tire to Correct Pressure
With the new valve core installed, connect your air pump or compressor and inflate the tire to the manufacturer-specified pressure. For most passenger cars, this is 30 to 36 PSI (check the tire information placard on the driver's door jamb or the vehicle owner's manual for the exact specification — the number on the tire sidewall is the maximum pressure, not the recommended operating pressure).
Inflate in short bursts, checking pressure with a gauge between each burst, rather than inflating to a target number in one continuous operation. Overshooting the target requires releasing air — a step that introduces extra stress on the new valve core seal.
Step 6 — Test for Leaks with Soapy Water
After inflation, apply soapy water (dish soap diluted in water works perfectly) generously around the entire valve stem — particularly at the base where the stem meets the rim, and at the top opening where the valve core is seated. Watch for bubbles forming in the soapy film.
- No bubbles: The valve core is sealed correctly. Wipe off the soapy water, replace the dust cap, and the job is complete.
- Bubbles at the valve core opening (top of stem): The valve core is not sealing. Deflate the tire, remove the core, inspect the rubber seal for damage, and try with a fresh core. If the second core also leaks, inspect the valve stem seat for damage.
- Bubbles at the stem base (where stem enters the rim): The valve stem itself is leaking, not the valve core. This requires stem replacement — a different procedure.
Step 7 — Replace the Valve Dust Cap
Screw the valve dust cap back onto the valve stem by hand until finger-tight. Do not use tools to tighten the cap — it is designed for hand tightening only and overtightening can crack plastic caps or seize metal caps permanently on the stem. The cap should be snug enough that it does not rattle or fall off, but not so tight that a child could not remove it in an emergency.
Using the Wrench for Specific Applications
While the fundamental technique for valve core removal and installation is consistent across all vehicle types, several specific applications involve additional considerations and modified procedures.
Injecting Tire Sealant
Liquid tire sealant — used for flat prevention or emergency flat repair — must be injected through the valve stem into the tire interior. The valve core is removed to allow unrestricted, rapid injection; attempting to inject sealant through the open valve (with the core in place) is slow and often incomplete because the valve pin restricts flow.
- Deflate the tire partially or fully as required by the sealant product instructions.
- Remove the valve core using the wrench as described above.
- Attach the sealant bottle nozzle directly to the open valve stem and inject the full specified quantity of sealant.
- Reinstall the valve core immediately after injection — do not leave the stem open longer than necessary as debris can enter the tire interior.
- Re-inflate to the correct pressure and rotate the tire as directed to distribute the sealant.
Nitrogen Inflation
For nitrogen inflation — used in aircraft tires, motorsport applications, and increasingly in standard passenger vehicles for pressure stability — the valve core is removed to allow nitrogen to be purged through the tire rapidly. The typical procedure requires the tire to be inflated with nitrogen, then deflated and reinflated two to three times to displace residual air, using the removed valve core to allow full unobstructed flow during each purge cycle. The wrench is essential for the rapid repeated removal and reinstallation this procedure requires.
Working on Motorcycles and Bicycles
Motorcycles with TR415 or TR418 extended-length valve stems require the same wrench technique as passenger car valves, but access can be more restricted depending on wheel design and fender clearance. Using a wrench with a slim, elongated head improves access in tight spaces. Always ensure the motorcycle is on a center stand or properly supported paddock stand before deflating tires — a two-wheeled vehicle on a side stand with a deflated tire is unstable.
For bicycles equipped with Schrader valves (as opposed to Presta valves), the same wrench used for automotive applications typically fits. Bicycle tire pressures are generally lower than automotive (road bike tires: 80 to 130 PSI; mountain bike tires: 25 to 35 PSI), but always release all pressure before removal — high-pressure road bike tires in particular can eject a loose valve core with surprising force.
Using the Wrench on Trucks and Commercial Vehicles
Commercial vehicle tires use metal bolt-in valve stems (TR500, TR501 series) with larger valve cores. These require the appropriate wrench size — a standard passenger car wrench will not fit properly. Commercial vehicle tires also operate at much higher pressures (80 to 130 PSI for truck tires), making complete pre-removal deflation even more critical. Some truck tire service operations use a valve core removal tool connected to an in-line pressure gauge and needle valve, allowing the technician to monitor and control pressure release during the procedure rather than deflating the entire tire.
Handling Difficult Valve Cores: Seized, Corroded, and Damaged
Valve cores that have been in service for many years, exposed to road salt, or assembled with overtightening may resist normal removal force. The following techniques address these difficult scenarios without escalating to destructive methods that damage the valve stem.
Applying Penetrating Lubricant
Apply a small amount of penetrating lubricant to the exterior base of the valve stem — the area where the rubber or metal stem contacts the rim. Allow it to penetrate for 5 to 10 minutes. The lubricant wicks through the fine thread clearance by capillary action and attacks the corrosion layer that is preventing rotation. Do not apply lubricant to the inside of the valve stem bore — contamination of the valve seat area can prevent the new core from sealing properly.
Using a T-Handle Wrench for Greater Torque
If the valve core remains seized after lubrication, switch to a T-handle valve core wrench. The perpendicular cross-handle allows both hands to apply force simultaneously from a balanced grip, providing significantly more rotational torque than a straight-handle wrench without requiring excessive grip strength. Apply torque gradually and smoothly — sudden jerking forces are more likely to round the hex than steady increasing pressure.
When the Hex Has Been Rounded
If a previous removal attempt with a poor-fitting or incorrect tool has rounded the corners of the valve core hex, the standard socket will no longer grip. In this situation:
- Try a slightly undersized wrench from a different manufacturer — minor dimensional variation between wrenches sometimes allows better engagement on a partially rounded hex.
- As a last resort, very fine-nose locking pliers can sometimes grip the remaining flat surfaces of a severely rounded core if the valve stem opening provides enough access clearance — this requires care to avoid damaging the stem threads.
- If removal is genuinely impossible without risking valve stem damage, the full valve stem should be replaced — the cost of a rubber snap-in or bolt-in metal stem is minimal compared to a damaged rim or wheel.
Valve Core Wrench Technique Comparison: Common Errors vs. Correct Method
Understanding what not to do is as important as knowing the correct technique. The following table summarizes the most frequently made mistakes, their consequences, and the correct approach.
| Common Error | Why People Do It | Consequence | Correct Approach |
|---|---|---|---|
| Removing core without deflating first | In a hurry; unaware of risk | Core ejected at speed; injury risk; instant full deflation | Always fully deflate before removal |
| Forcing wrench head at an angle | Poor visibility; awkward access | Wrench slips; hex corners rounded; valve stem bore scratched | Insert straight and axially aligned |
| Using an ill-fitting or wrong-size wrench | Using what is available; cost-cutting | Rounded hex; valve core impossible to remove later | Use correctly sized, precision-fit wrench |
| Cross-threading on installation | Rushing; not hand-starting threads first | Permanent stem thread damage; stem replacement required | Hand-start 2 full turns before using wrench |
| Overtightening the new core | Believing tighter means better seal | Rubber seal damaged; immediate or delayed leak; stripped threads | Tighten to 2–3 inch-pounds only; stop at firm resistance |
| Skipping the leak test | Assuming the job is done; time pressure | Slow leak develops undetected; flat tire later | Always test with soapy water after inflation |
| Not replacing the valve dust cap | Overlooked; cap lost during service | Debris enters stem; moisture corrosion; secondary seal lost | Always reinstall cap; keep spare caps in kit |
Valve Core Wrench Tips for Auto Repair Shops and Professional Technicians
For technicians performing valve core services repeatedly throughout the working day, small improvements in technique and tool selection compound into meaningful gains in efficiency, quality consistency, and customer satisfaction.
Standardize on Magnetic Wrenches
In a busy auto repair shop environment, dropping a valve core — especially when servicing multiple vehicles simultaneously — causes time-wasting interruptions. A magnetic valve core wrench holds the removed core securely and allows the technician to place it directly into a parts tray with a controlled, deliberate movement. The seconds saved per transaction add up to measurable time savings across a full day of tire service work.
Include Valve Core Replacement in Every Tire Service
Professional tire shops increasingly include valve core replacement as a standard line item in every tire rotation, tire change, or seasonal swap. Given that individual valve cores cost a few cents each, the material cost is negligible, and the labor adds only seconds to an already-open service. This practice eliminates slow-leak callbacks — one of the most common post-service complaints — and builds customer confidence in the thoroughness of the shop's work.
Organize Valve Core Inventory by Type
A well-organized valve core inventory prevents the common mistake of installing the wrong core type during a busy service session. Keep standard Schrader cores (TR413/TR415 compatible), TPMS-specific cores (typically nickel-plated or brass, sold separately), and heavy-duty commercial cores in clearly labeled separate containers at each service bay. This prevents the subtle performance difference between core types from being overlooked under time pressure.
Torque-Limiting Extension Options
For shops performing very high volumes of valve core installation, torque-limiting valve core wrench extensions — which mechanically disengage once the specified torque is reached — eliminate the inconsistency of technician feel-based tightening and prevent overtightening-related seal damage. These tools pay for themselves quickly in reduced valve stem thread repair work and reduced customer returns for post-service leaks.
How Often Should You Replace a Valve Core?
Understanding replacement intervals helps vehicle owners and technicians schedule proactive valve core service rather than waiting for a slow leak to develop.
| Vehicle / Use Context | Recommended Inspection Interval | Recommended Replacement Interval | Key Risk Factors |
|---|---|---|---|
| Passenger car (moderate use) | Every tire rotation (~6,000–8,000 km) | Every 3–5 years or at tire change | UV / ozone degradation of rubber seal |
| Passenger car (cold / salt road climate) | Every seasonal tire change | Every 2–3 years or at tire change | Road salt accelerates corrosion of valve components |
| Commercial trucks / fleet vehicles | Monthly or at each tire service | Every tire change; annually minimum | High pressure; high mileage; cost of flat tire in service |
| Motorcycles | At tire change or annually | Every tire change | Safety criticality; two-wheel balance dependency |
| Bicycles (Schrader valve) | When leak suspected or annually | As needed; cores are very low cost | Less critical pressure; usually low-cost to replace |
Care and Maintenance of Your Valve Core Wrench
A quality valve core wrench — forged from chrome-vanadium steel with a precision-machined clamping head — is a durable tool that can last for decades with minimal care. Proper maintenance preserves the dimensional accuracy of the clamping head and ensures the tool performs reliably when needed.
Cleaning After Use
After valve core service, wipe the wrench — particularly the clamping head — with a clean lint-free cloth to remove tire debris, rubber particles, lubricant residue, and moisture. Allow the tool to dry fully before storing. This simple step prevents the accumulation of contaminants that can gradually degrade the precision of the clamping head's engagement with valve core hexes.
Storage
Store the valve core wrench in a dry location away from direct moisture. For vehicle emergency kits, store the wrench in a sealed plastic bag or small pouch to protect it from the humidity fluctuations common inside vehicle trunks, which cause surface oxidation even on chrome-finished tools over time. Do not store the wrench in contact with chemical agents such as battery acid, brake fluid, or concentrated cleaning solvents that can attack the chrome or nickel surface finish.
Inspecting the Clamping Head
Periodically test the clamping head engagement by fitting it onto a new, unused valve core. The fit should be firm and free of play — the tool should not wobble or rotate independently of the core when they are engaged. Any perceptible play indicates wear or deformation of the clamping head and the tool should be replaced before it is used on a vehicle, as a worn head is likely to slip and round valve core hexes rather than grip them securely.
Complete Usage Reference: Valve Core Wrench at a Glance
For quick reference during a service session, the complete usage sequence is summarized below:
Removal Sequence
- Deflate — press valve pin until no air escapes; confirm fully flat
- Remove cap — unscrew dust cap and store safely
- Insert wrench — straight, aligned with stem axis
- Engage hex — advance until socket seats firmly on valve core hex base
- Turn counter-clockwise — steady pressure; approximately 3 to 5 full turns to free
- Withdraw and store — magnetic wrench retains core; otherwise catch manually
Installation Sequence
- Inspect stem — clean bore; check threads for damage
- Load core on wrench — magnetic hold or careful manual seating
- Hand-start threads — finger pressure only for first 2 full turns clockwise
- Tighten with wrench — clockwise to 2 to 3 inch-pounds; stop at firm resistance
- Inflate to specification — correct PSI for vehicle type (check door placard)
- Test with soapy water — no bubbles = correct seal
- Replace dust cap — hand-tight; do not over-tighten
With a quality chrome-vanadium wrench, compatible valve core type, and this step sequence followed carefully, any valve core service — on any vehicle from a bicycle to a truck — can be completed cleanly, safely, and correctly in under five minutes by a single person without specialized training beyond this guide.
-
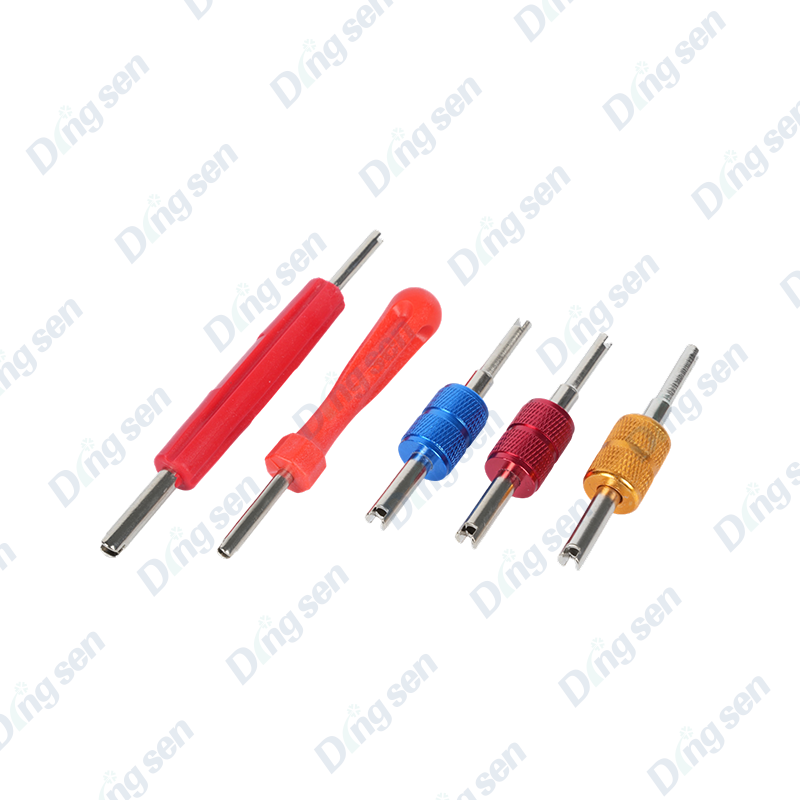
The tire valve core wrench is a specialized tool for removing and installing val...
-
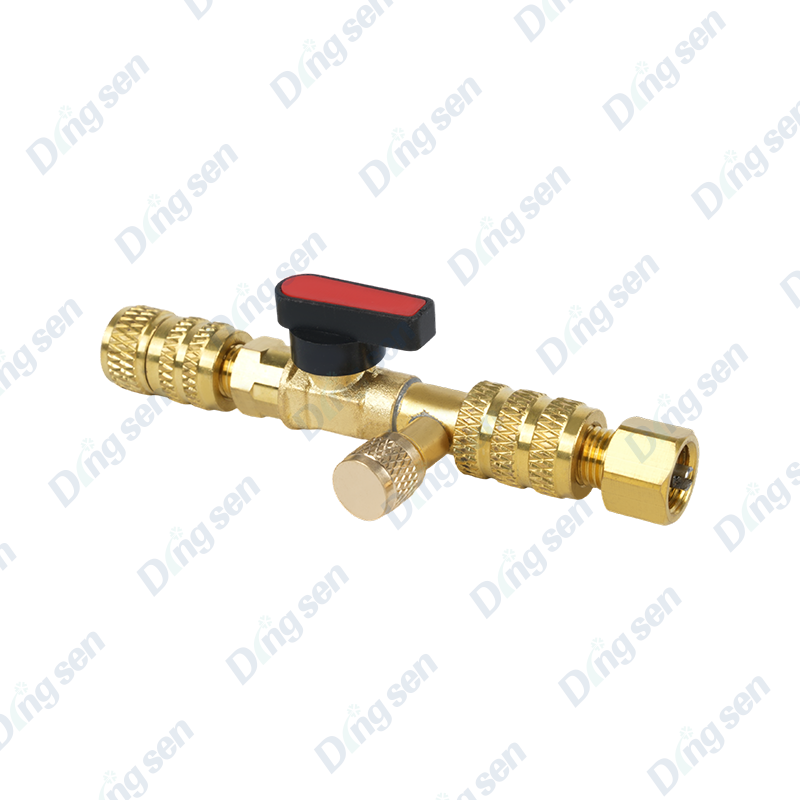
Valve core installation and removal tools are specialized tools for installing a...
-
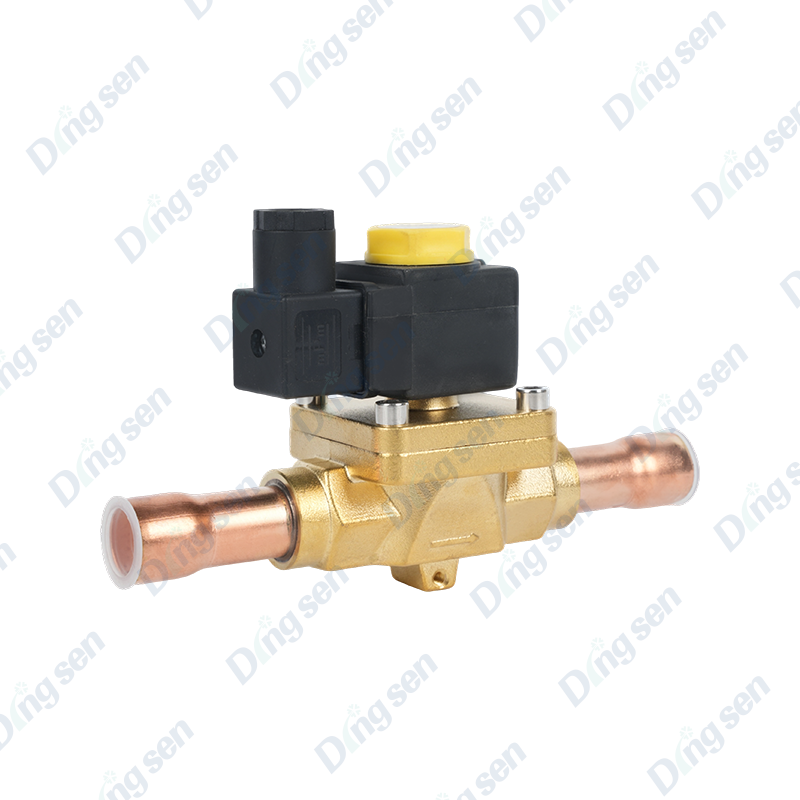
EVR solenoid valves are key components in refrigeration and air conditioning, co...
-
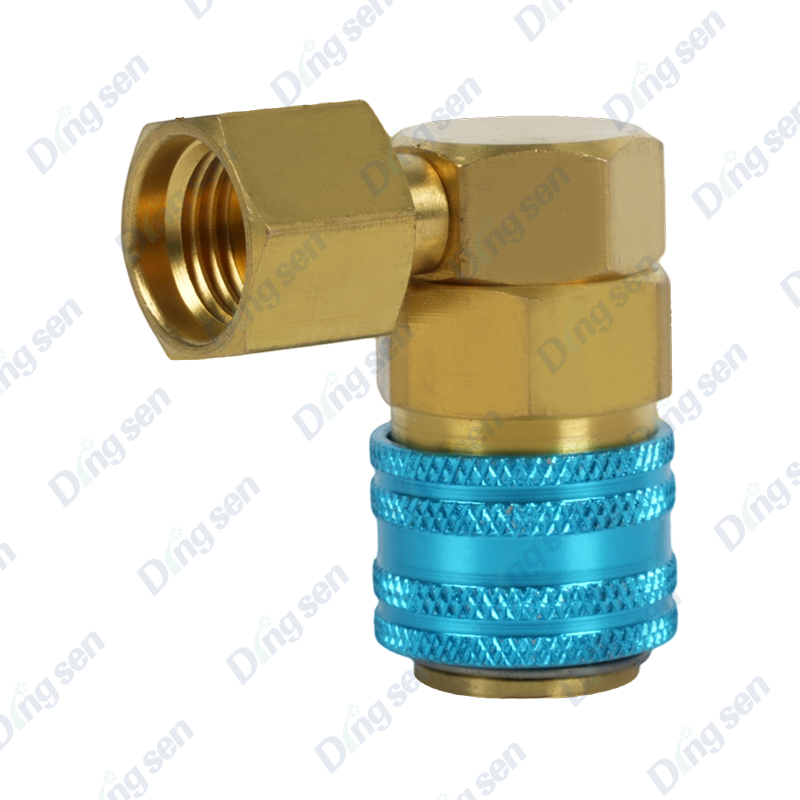
The 90 degree fluorinated quick connector features a snap-on design, specificall...
-
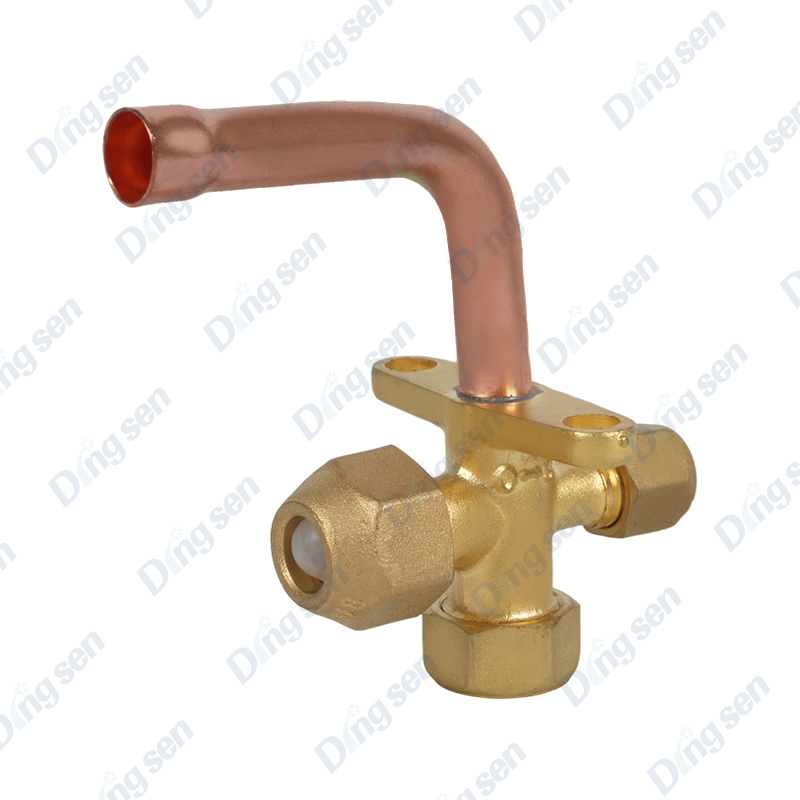
The air conditioning three-way valve is a key component for switching and contro...
-
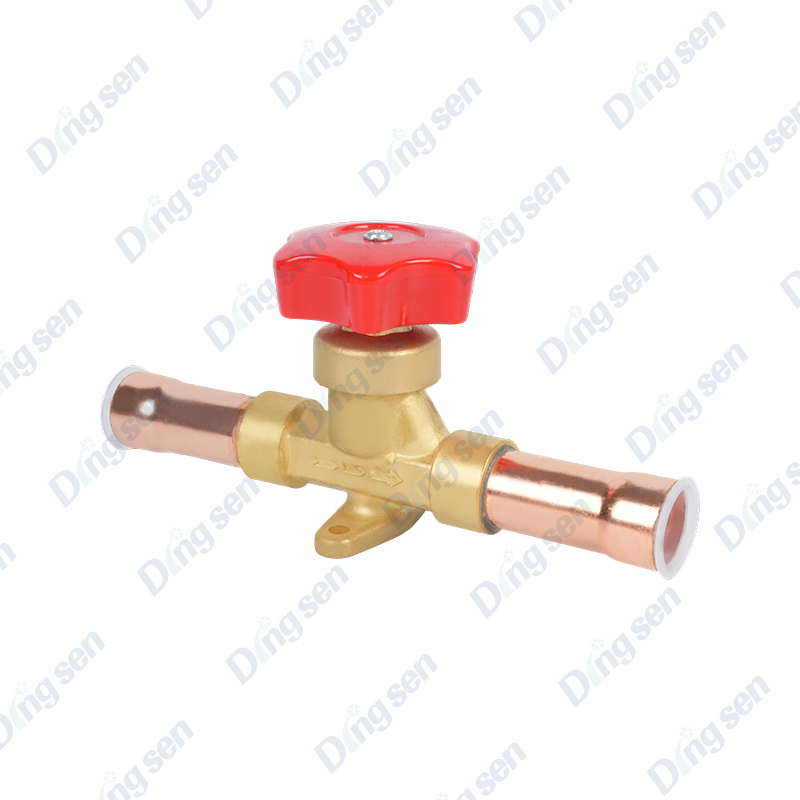
Diaphragm-type hand valves are manual flow control components for refrigeration ...

Contact Us
-

No. 109 Jiefang Road, Diankou Town, Zhuji City, Shaoxing, Zhejiang Province
-

+86-13867581196
-

Copyright © shaoxing DingSen Refrigeration Technology Co Ltd. All Rights Reserved
OEM Refrigeration Parts Manufacturer Custom Automotive AC Parts Factory