
 en
en  Español
 عربى
عربى
How to Use an AC Vacuum Pump: Step-by-Step Evacuation Guide for Technicians
A compressor changeout, a leak repair, or a fresh line set all leave the same problem behind: the inside of the system is full of air and moisture that must come out before any refrigerant goes in. An AC vacuum pump is the tool that clears them, and using it correctly is what separates a repair that lasts for years from a callback in six weeks. The short version is this: connect through both service ports with a manifold and a micron gauge, pull the system down to 500 microns or lower, isolate it, and confirm the vacuum holds before you charge. The sections below explain how to hit those numbers on real equipment, and why each step matters.
Content
What an AC Vacuum Pump Actually Removes
Two contaminants matter, and they behave very differently. Air is a mixture of non-condensable gases that enters whenever a joint is opened. It collects in the condenser, refuses to condense, and pushes head pressure and discharge temperature up while cooling capacity drops. Moisture is worse: it circulates until it freezes at the smallest restriction in the circuit, usually the expansion device, and mixed with refrigerant and heat it forms acids that attack motor windings and valve plates.
A vacuum pump cannot suck liquid water out of a sealed system. What it does is lower the pressure until that water boils at room temperature, turns to vapor, and is swept out through the pump. That single fact is the basis of the whole procedure, and the chart below shows exactly how deep the pressure has to go.
Boiling Point of Water Falls as Vacuum Deepens
This curve shows the approximate boiling point of water at different vacuum depths, measured in microns of mercury. At atmospheric pressure, about 760,000 microns, water stays liquid until 212 F, so it simply sits inside the circuit as a droplet. As pressure falls, the boiling point drops fast: at roughly 10,000 microns water boils near 52 F, and by 5,000 microns it boils around 34 F, close to the temperature of a cool morning. Below 1,000 microns, water boils even over ice, which is why a deep vacuum is the only dependable way to dry an assembled system. The familiar 500 micron target means the pressure is low enough that remaining moisture is actively boiling off. Keep this curve in mind when a job slows near the end, because those last few hundred microns are where the real drying happens.
Tools and Setup You Need Before Starting
Good evacuation is mostly preparation, and the equipment list is short but specific:
- A two-stage vacuum pump rated 3 to 6 CFM, since the second stage is what lets it reach and hold 500 microns.
- A manifold gauge set with low and high side gauges to control flow during and after the pull.
- A digital micron gauge, because a mechanical needle cannot read accurately anywhere below about 1,000 microns.
- Vacuum-rated charging hoses, plus a core removal tool if you want faster pulls.
- Dry nitrogen with a regulator, for pressure testing and for breaking the vacuum cleanly.
- A charging scale, for weighing the refrigerant back in.
The gauge set is the control panel for the whole operation, so it is worth using one built for daily service work. A rugged example is this charging pressure gauge from our repair tool range:
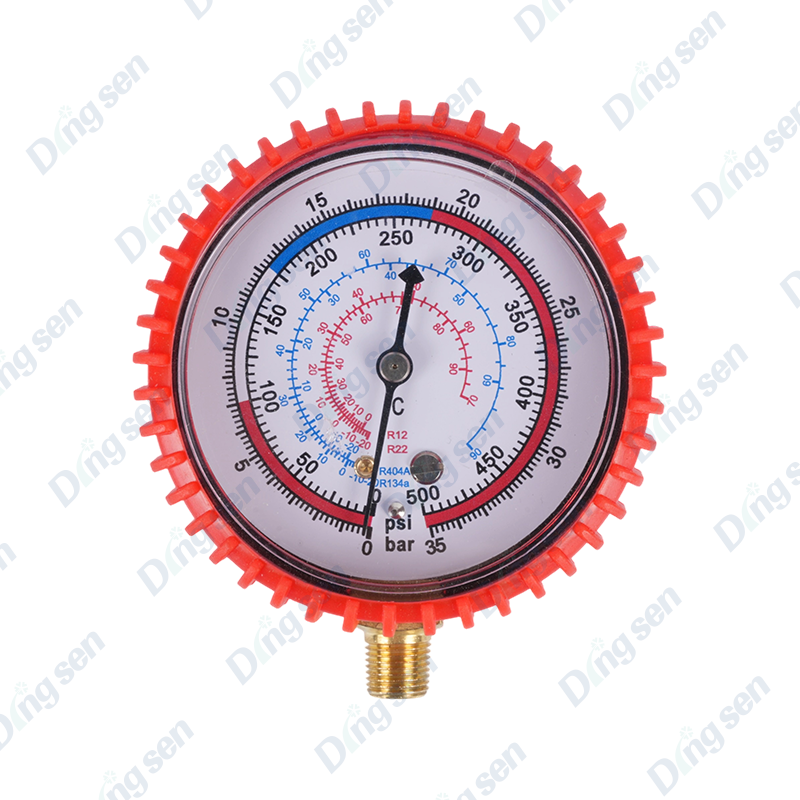 Air Conditioner Fluorine Charging Pressure GaugeThis refrigerant filling gauge displays high- and low-side pressures in real time and reads temperature-pressure curves for refrigerants like R22, R410A, and R32, making it a dependable control instrument for daily service and maintenance work.View Product →
Before you buy or rent, it also helps to be clear about single-stage versus two-stage design. The comparison below scores the two designs across the criteria that actually show up in the field.
Single-Stage vs Two-Stage Vacuum Pump
The radar chart scores single-stage and two-stage pumps from 1 to 10 on five criteria that show up in daily work. The two-stage design leads on deep vacuum capability and moisture handling because its second stage compresses vapor a second time, reaching well below 500 microns and holding there. A single-stage unit stays competitive on value and simplicity, and for quick car AC work that trade can be acceptable. Pull speed is closer than most buyers expect, since displacement in CFM drives the early pump-down while final depth depends on stage count and fresh oil. For a shop that also handles low temperature refrigeration, the two-stage lead on the upper part of the chart is why it becomes the default purchase.
Step-by-Step: Running the Evacuation
Step 1: Prepare the System
Recover any refrigerant left in the circuit with a recovery machine, since venting is illegal in most markets and it carries oil out with the gas. If the system was opened for repair, plan to replace the filter drier, because a drier that has seen air may already be saturated with moisture. Check that every new braze joint has cooled and that the repair itself is complete before you seal the system to a vacuum.
Step 2: Connect the Manifold and Hoses
Connect the blue low-side hose to the suction service port, the red high-side hose to the liquid or discharge port, and the yellow center hose to the pump inlet. Hand tight plus a gentle quarter turn with a wrench is usually enough, because over-tightening flattens flares and creates the very leak you are trying to remove. If the ports have valve cores, remove them with a core tool before starting, since pulling through two small cores can stretch a thirty minute job into hours. Hoses deserve the same attention, because an ordinary charging hose can collapse or leak under deep vacuum:
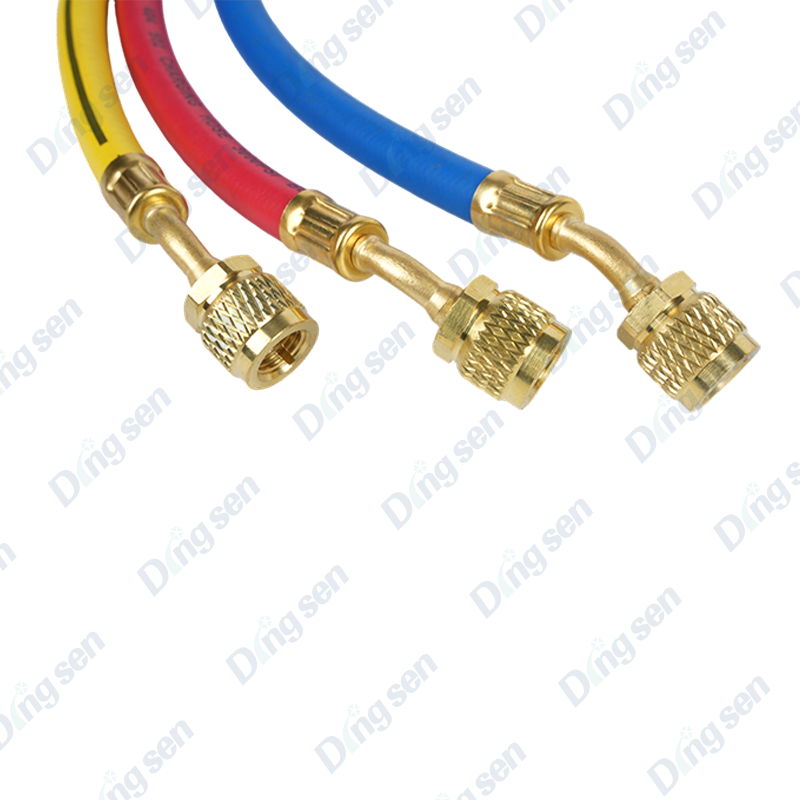 Refrigerant Fluorine Filling HoseWith a refrigerant-resistant rubber inner layer, fiber-braided reinforcement, and leak-proof connectors, these hoses stay sealed and flexible under deep vacuum and pressure, supporting reliable evacuation and charging connections.View Product →
Step 3: Pull Down to 500 Microns
Start the pump and open both manifold valves together so the whole circuit evacuates evenly. The micron reading falls quickly at first, then slows sharply as the last moisture boils off; that flattening is normal and not a sign of a leak. If the reading stalls far above target and refuses to move, you are fighting either moisture or a leak, and the hold test in step 5 will tell you which one.
Pump Size vs Time to Reach 500 Microns
This chart compares how long pumps of different sizes typically need to bring a clean 5 ton system down to 500 microns. A small 1.5 CFM pump can finish the job, but it may need close to an hour, which makes it a backup tool rather than a daily driver. Moving to 3 CFM cuts that time nearly in half, and a 4 to 6 CFM two-stage pump is the practical sweet spot for most shops. Above about 6 CFM the gains shrink, because the final stage of evacuation is limited by how fast moisture evaporates, not by pump displacement. Removing valve cores and using larger hoses often saves more time than buying a bigger pump.
Step 4: Give the Pump Enough Time
How long to run the pump depends on the size of the circuit, the amount of moisture inside, and the pump you own. The guidelines in the next chart are a practical starting point rather than a rule, which is why the micron gauge always has the final word.
Typical Evacuation Time by System Type
These figures are practical guidelines for a 4 CFM two-stage pump on a dry system with the valve cores removed. A car AC circuit holds a small volume and has short runs, so about thirty minutes is normally enough. Mini-splits are smaller still, but their factory line sets still deserve a full pull rather than a quick one. Residential and light commercial systems carry more oil and more moisture after an open repair, which is why their times stretch out. Large equipment with long line runs needs the most patience, and on a chiller the evacuation is planned as a job of its own. Whatever the system, run time is governed by how much moisture has to boil off, not by the clock alone.
Step 5: Isolate and Hold the Vacuum
Close the manifold valves or shut the pump inlet valve while leaving the micron gauge on the system, then watch it for 15 to 30 minutes. A dry, tight system stays near its final reading or drifts up only slightly. The table below is how most technicians interpret what they see.
| Micron rise during hold | Most likely cause | What to do next |
|---|---|---|
| Under 50 microns | Dry and tight | Proceed to charging |
| 50 to 200 microns | Residual moisture evaporating | Keep pumping, then retest |
| 200 to 500 microns and slowing | Significant moisture load | Pull a deeper vacuum or use a nitrogen sweep |
| Rapid rise toward atmosphere | Leak | Pressurize with nitrogen and locate the leak |
When the test points to moisture rather than a leak, a common recovery is to break the vacuum with dry nitrogen, pressurize briefly, and pump back down, because the nitrogen sweep carries moisture out faster than pumping alone. This is also where a nitrogen pressure maintaining kit earns its place in the tool bag:
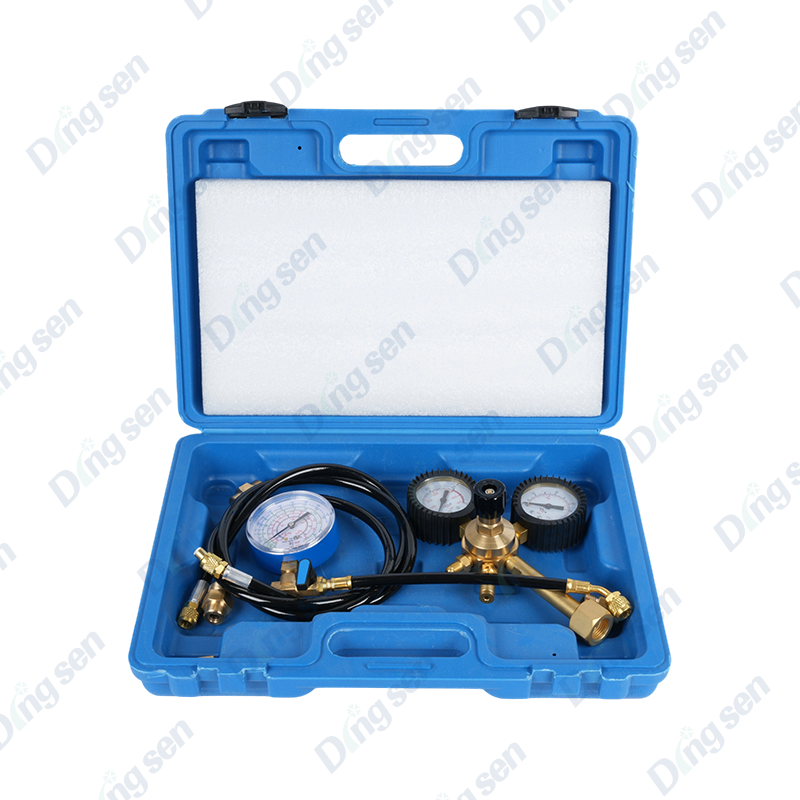 Nitrogen Pressure Maintaining KitThis kit combines a brass pressure-reducing valve, precision gauge, and leak-proof hoses to pressurize systems with dry nitrogen, helping sweep out moisture and pinpoint pressure drops during leak testing and maintenance.View Product →
Step 6: Break the Vacuum and Charge
Once the hold test passes, break the vacuum with refrigerant vapor or dry nitrogen instead of room air, then weigh in the charge on a scale while the system runs. Open the service valves fully, replace and tighten the port caps, and recheck pressures and superheat after about fifteen minutes of operation. The caps matter more than most people think, because a missing cap is one of the most common slow leaks found in the field.
Common Mistakes That Waste the Whole Procedure
Most failed evacuations trace back to a handful of habits, and all of them are easy to fix once you know what to look for:
- Pulling vacuum through the service port cores only. The restriction those small cores create can turn a thirty minute pull into a three hour one.
- Trusting the manifold gauge needle instead of a micron gauge. A needle sitting at zero tells you almost nothing between 0 and 5,000 microns.
- Skipping the hold test. A running pump can hide a small leak, and the leak shows up the week after you drive away.
- Running the pump on old oil. Pump oil absorbs moisture, turns milky, and loses its ability to reach deep vacuum, so change it after any wet job.
- Evacuating a system with suspect brazed joints instead of redoing them. If a joint fails the hold test, cut it out and rebraze properly; our guide to the MAPP welding gun covers flame control and joint preparation in detail.
A vacuum pump is a simple machine, but the discipline around it is what protects the compressor, the expansion device, and your reputation. Connect through both ports, measure with a micron gauge, reach 500 microns, prove the vacuum holds, and only then charge the system. Every one of those steps exists because air and moisture are patient: they will find the weakest flare, the wettest drier, and the oldest pump oil in your kit. Give the evacuation the same care you give the repair itself, and the charge you weigh in today will still be cooling five summers from now.
-
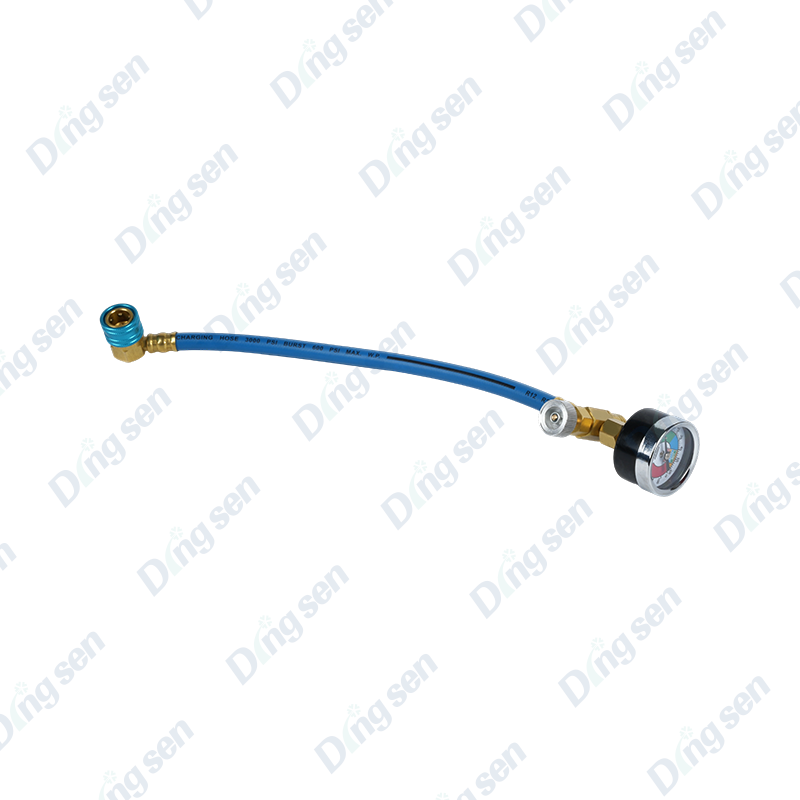
The air conditioning refrigerant filling tool is a professional repair accessory...
-
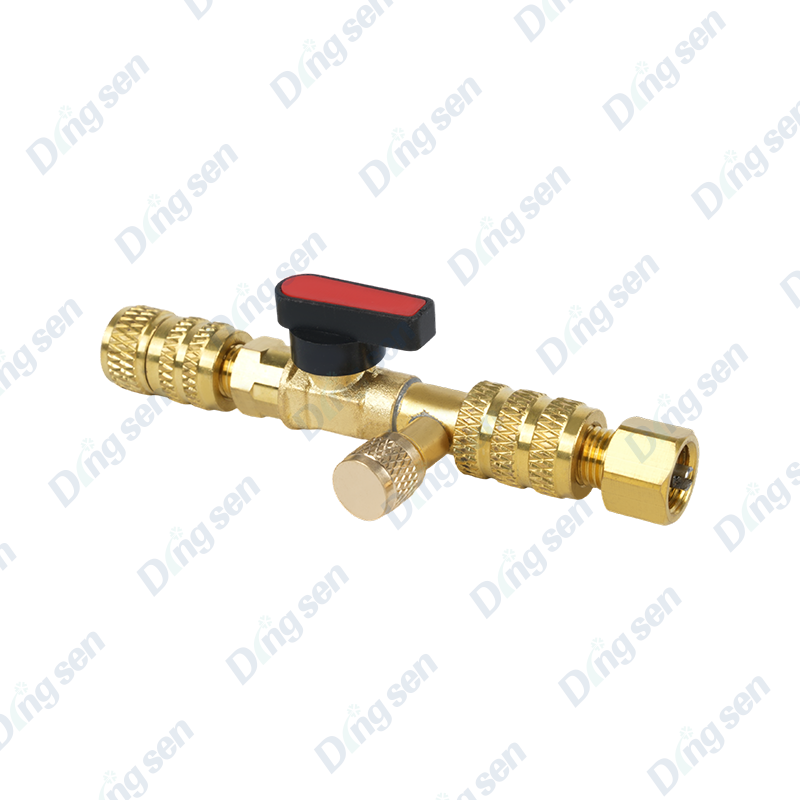
Valve core installation and removal tools are specialized tools for installing a...
-
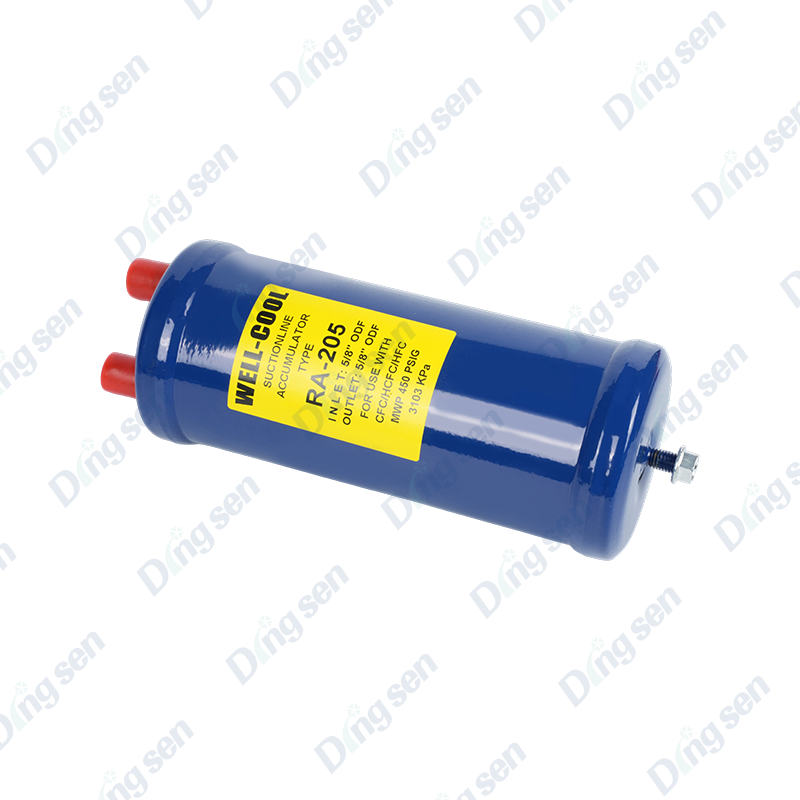
The refrigerant gas-liquid separator is a core separation component in refrigera...
-
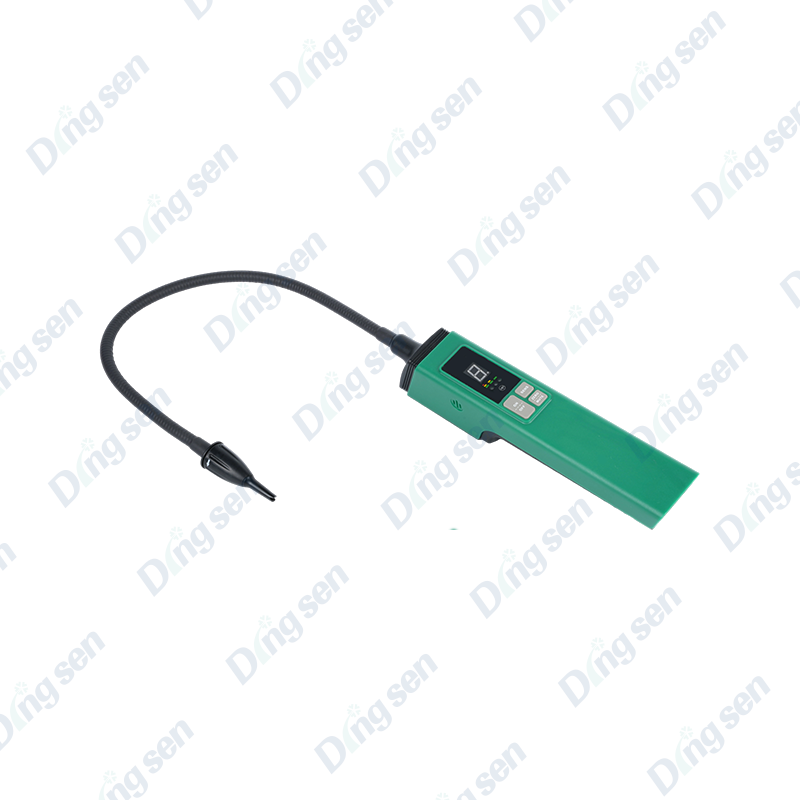
The refrigerant leak detector is a specialized device for detecting leaks in ref...
-
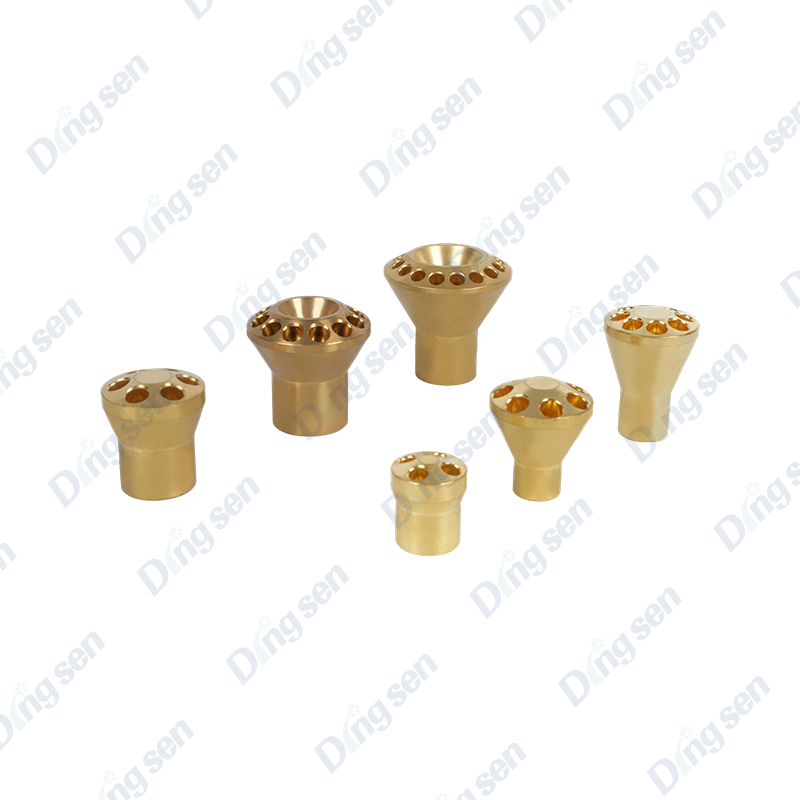
The brass refrigerant distribution liquid separator is a core component of refri...
-
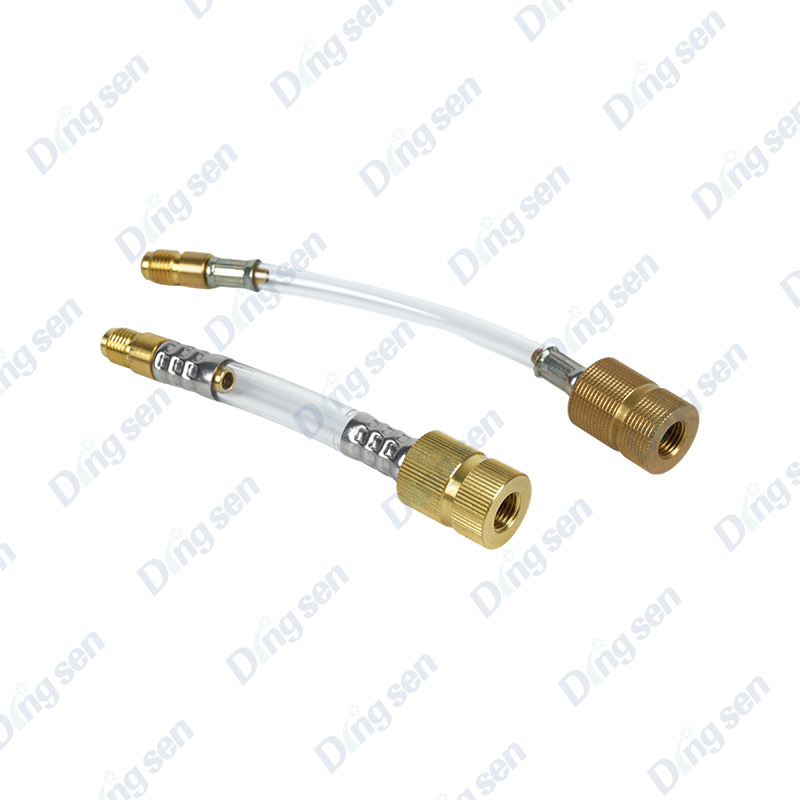
The Refrigerant rapid injection pump automotive air conditioning filling system ...

Contact Us
-

No. 109 Jiefang Road, Diankou Town, Zhuji City, Shaoxing, Zhejiang Province
-

+86-13867581196
-

Copyright © shaoxing DingSen Refrigeration Technology Co Ltd. All Rights Reserved
OEM Refrigeration Parts Manufacturer Custom Automotive AC Parts Factory